Your First Edit
This page walks through a simple example of basic image editing in Alcedo Studio. We'll start by importing a RAW image, make some basic adjustments, and finally export the result.
Creating / opening a project
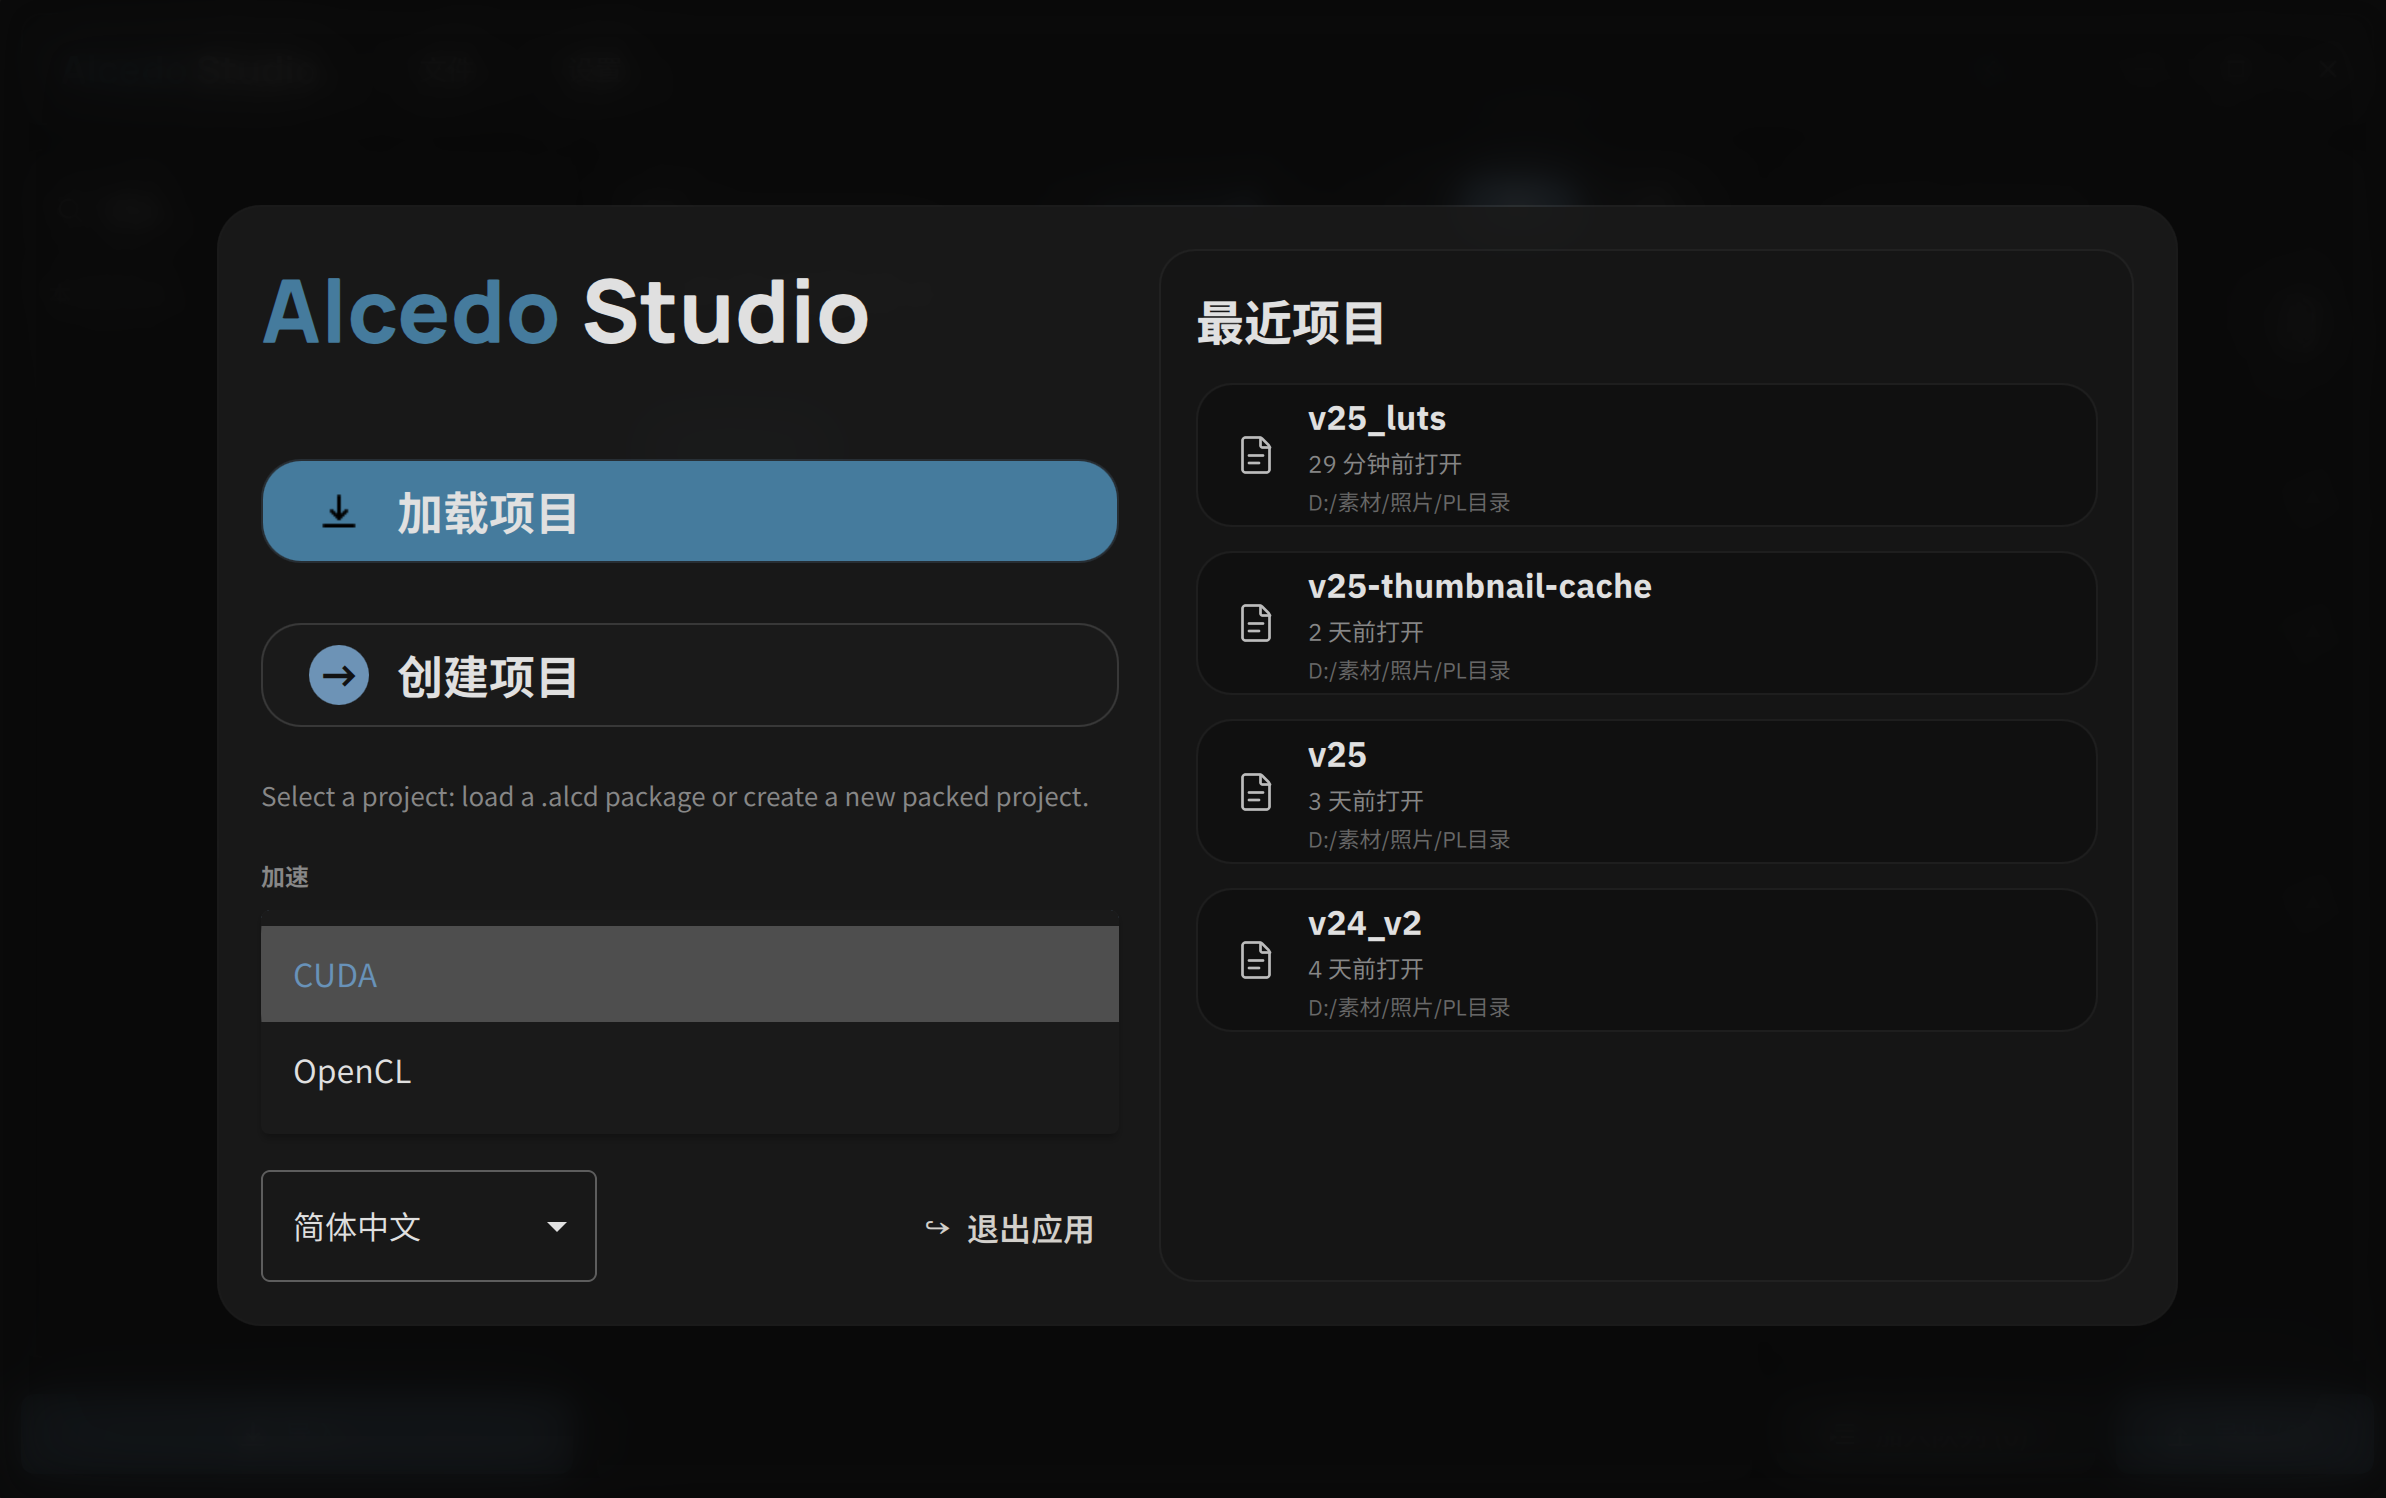
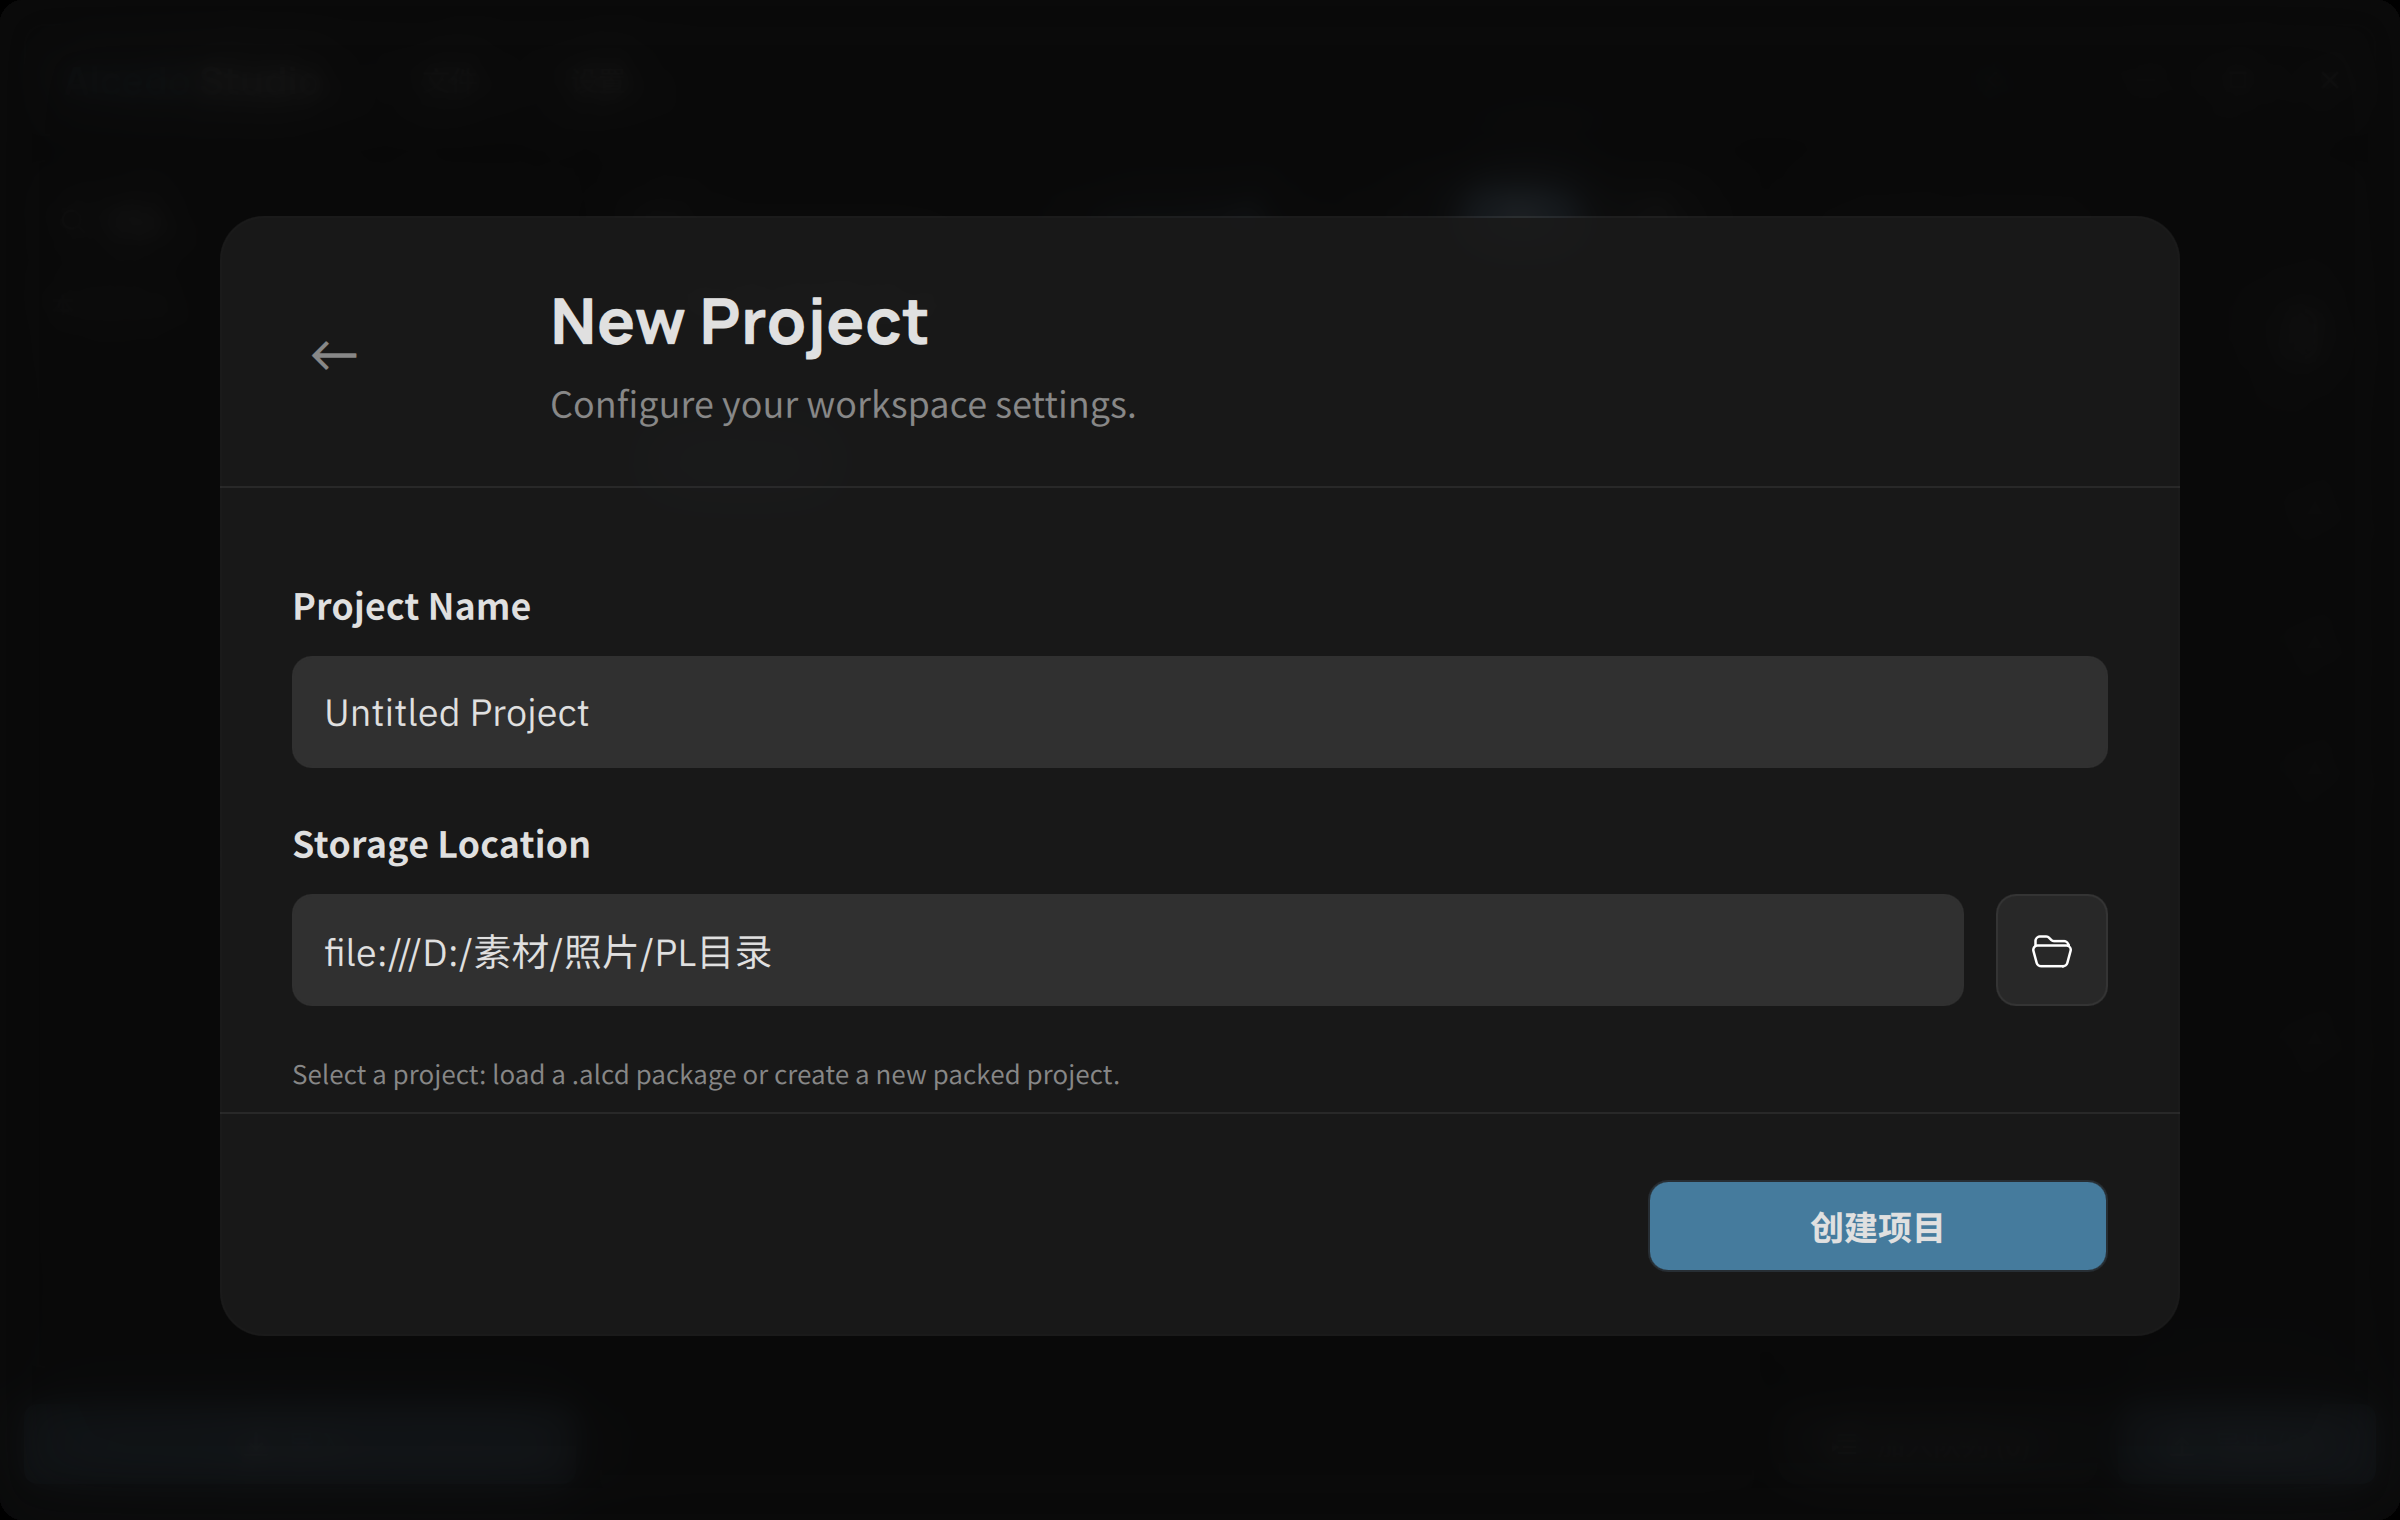
In the project management screen, click the "Create Project" button on the welcome screen, then choose a suitable folder in the new panel as the storage location for the project files. Enter a project name and click "OK" to finish initializing the project.
Importing / filtering images
Importing images
After creating the project, click "Import", select one or more RAW image files in the operating system's file picker, and click "Open" to finish the import. Imported images appear in the album page.
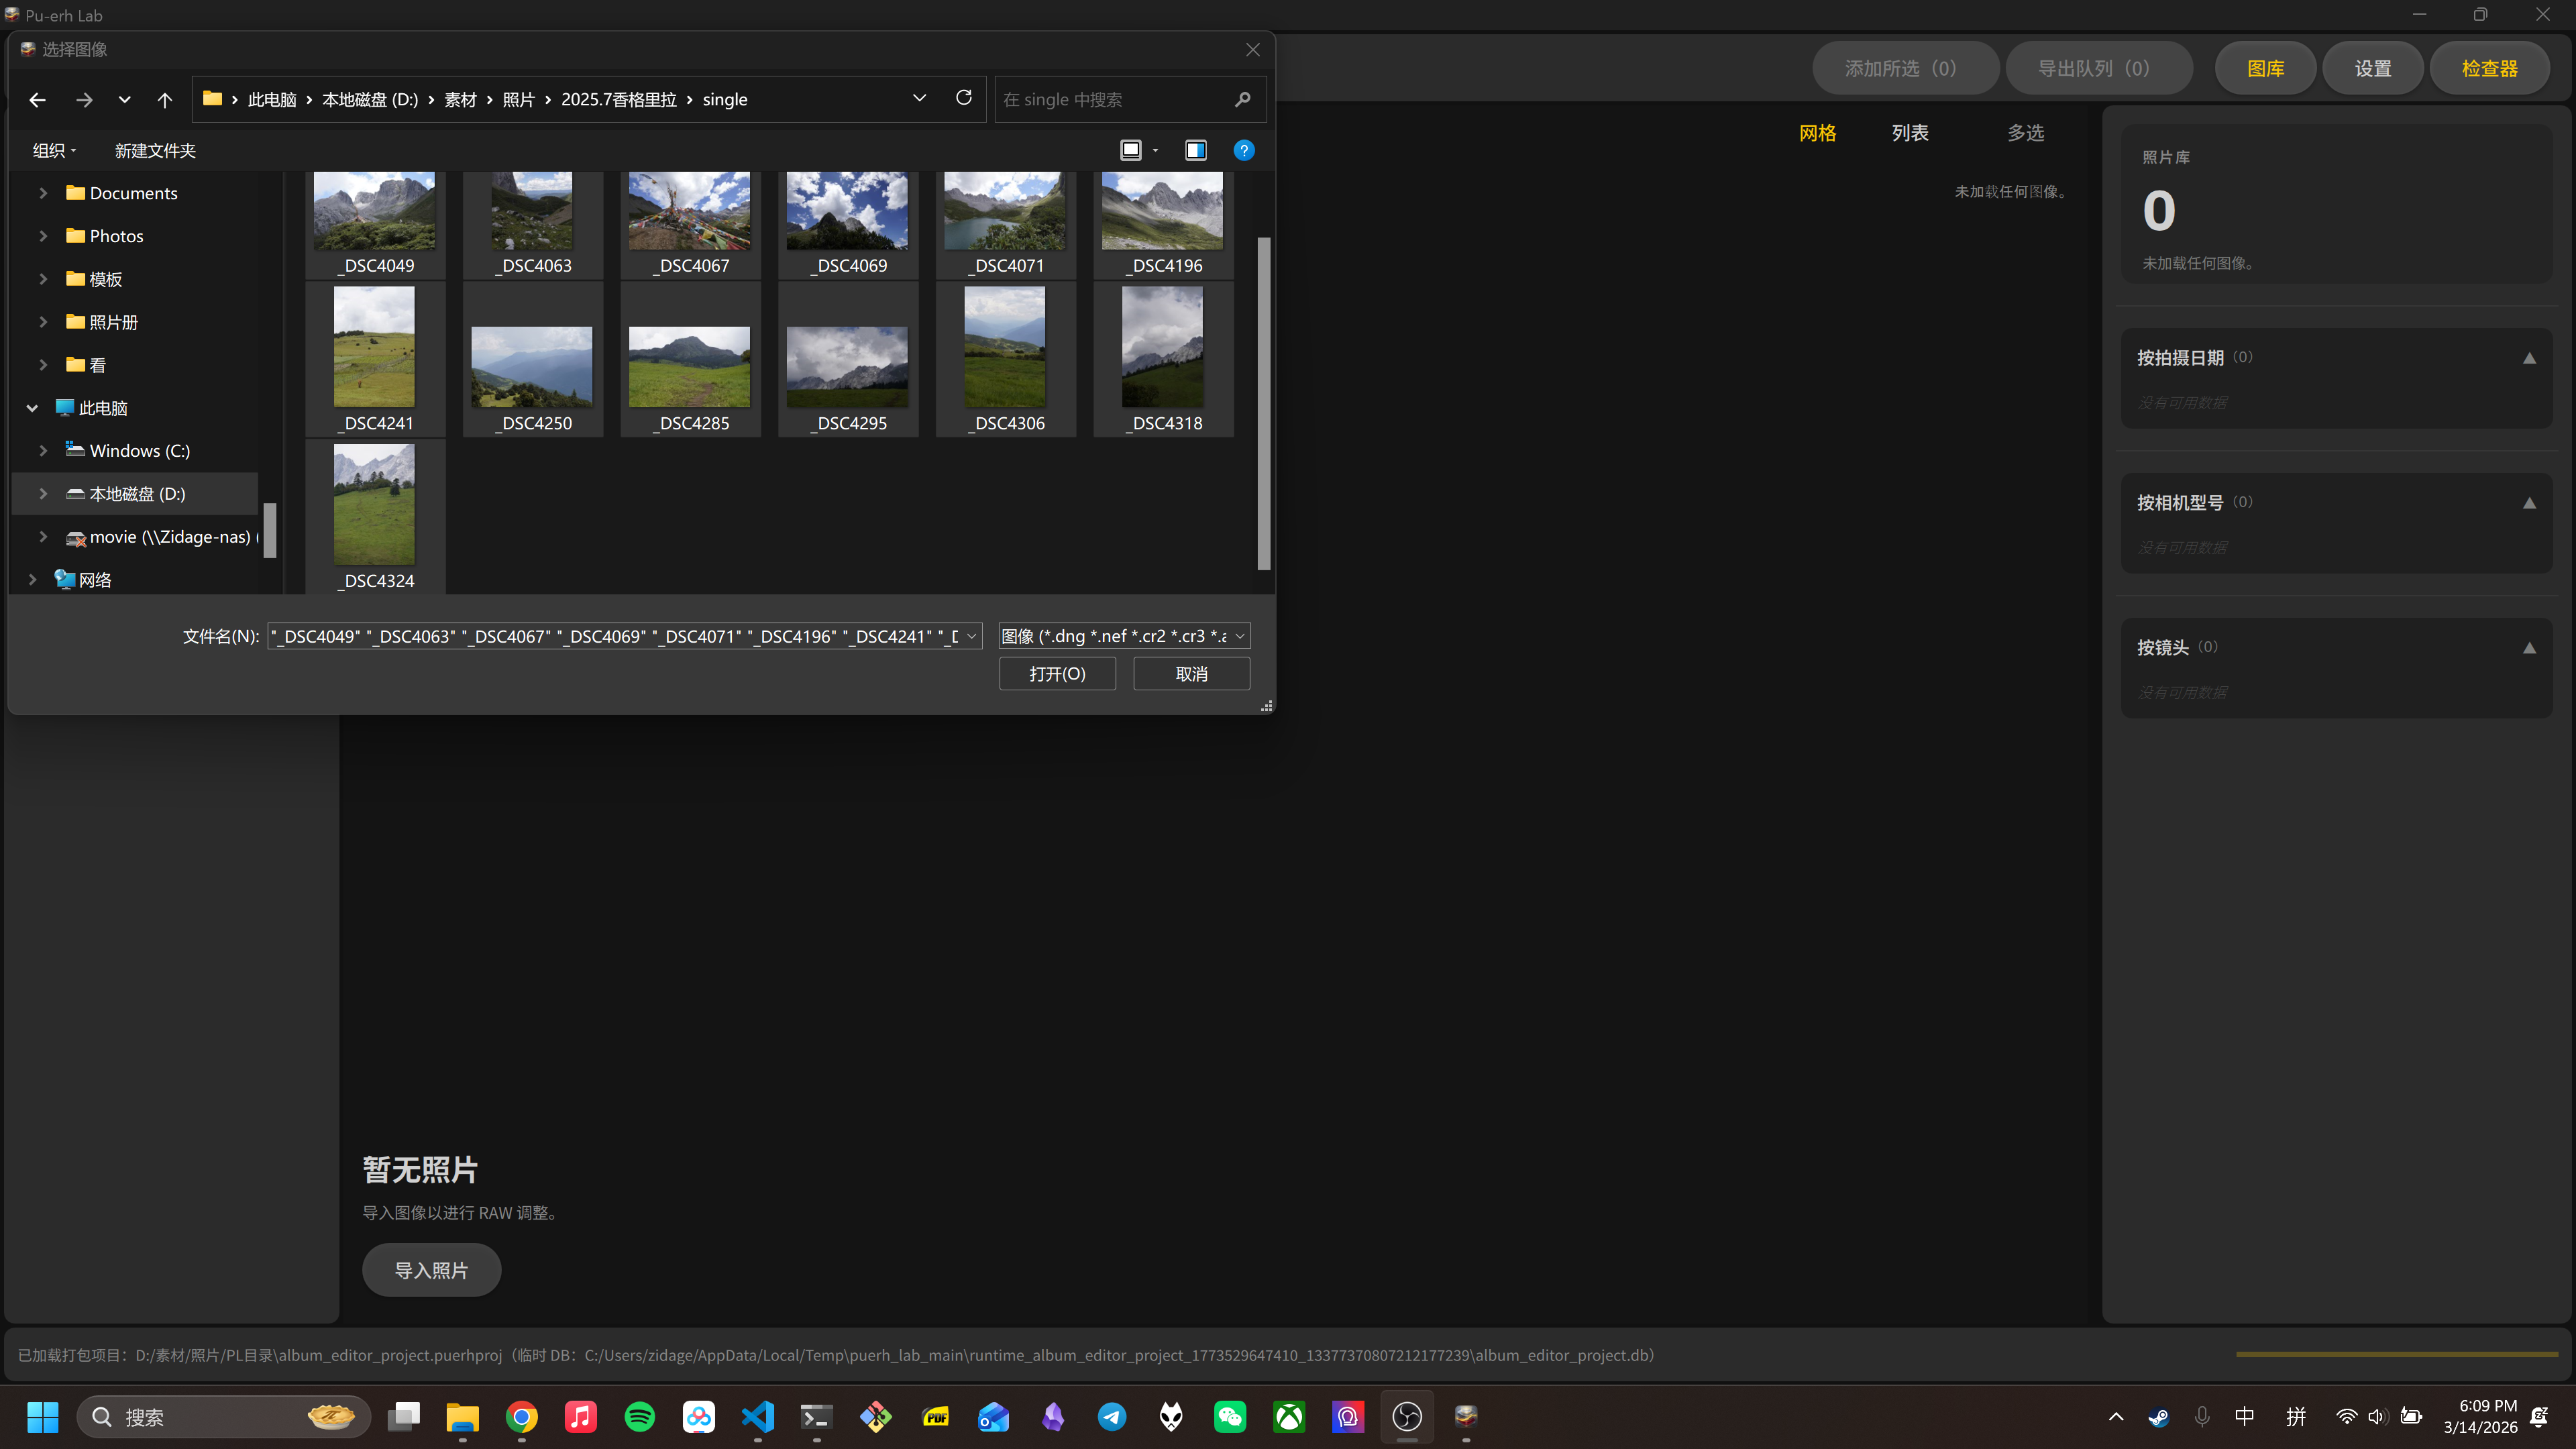
When the import finishes, if the project has a local AI model activated, the app shows a Use AI to analyze image content? dialog asking whether to generate content labels for this batch; if no local model is activated yet, it shows Set up an AI model to analyze images, guiding you to Local Content Recognition to install and activate a model. You can choose Generate, Skip, or tick Remember My Choice. Related settings and full instructions are in Local AI model management and AI label generation. For descriptions, ratings, and rating reasons for selected photos, use the advanced content analysis flow in API provider configuration.
Selecting images
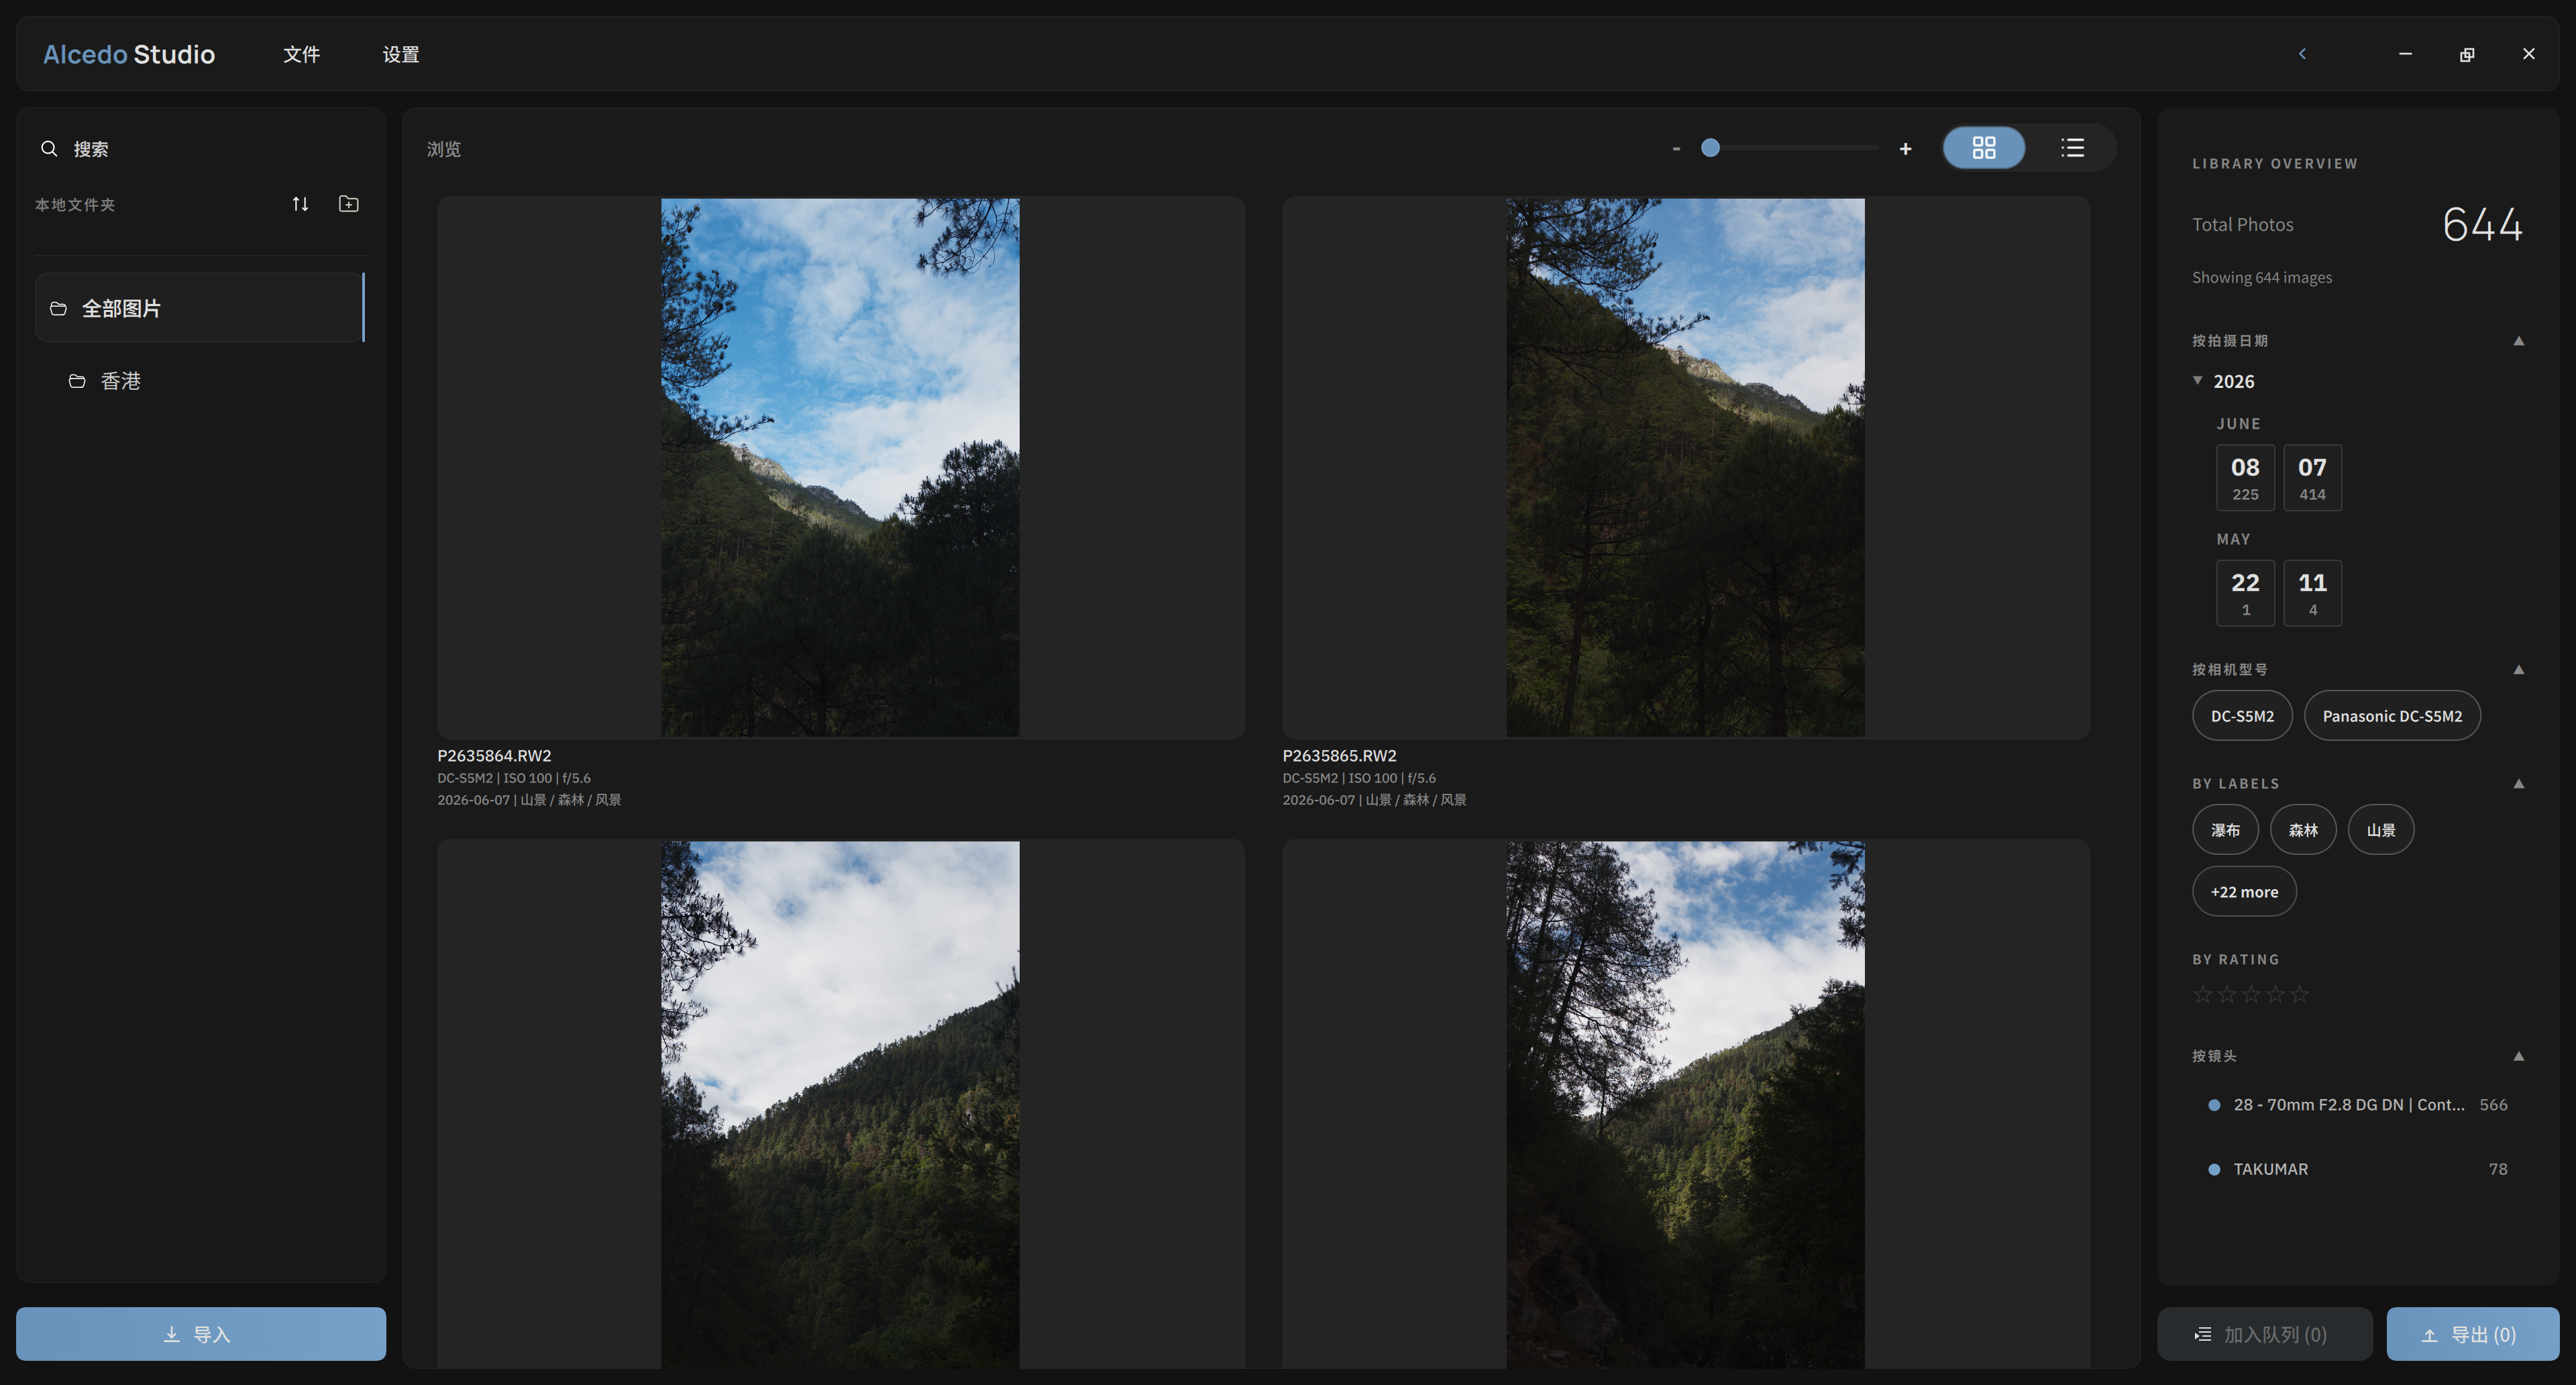
Once the import finishes, double-click an image in the album to open the edit page, or drag a selection box over multiple images and right-click "Add Selected" to add them to the export queue.
Filtering images
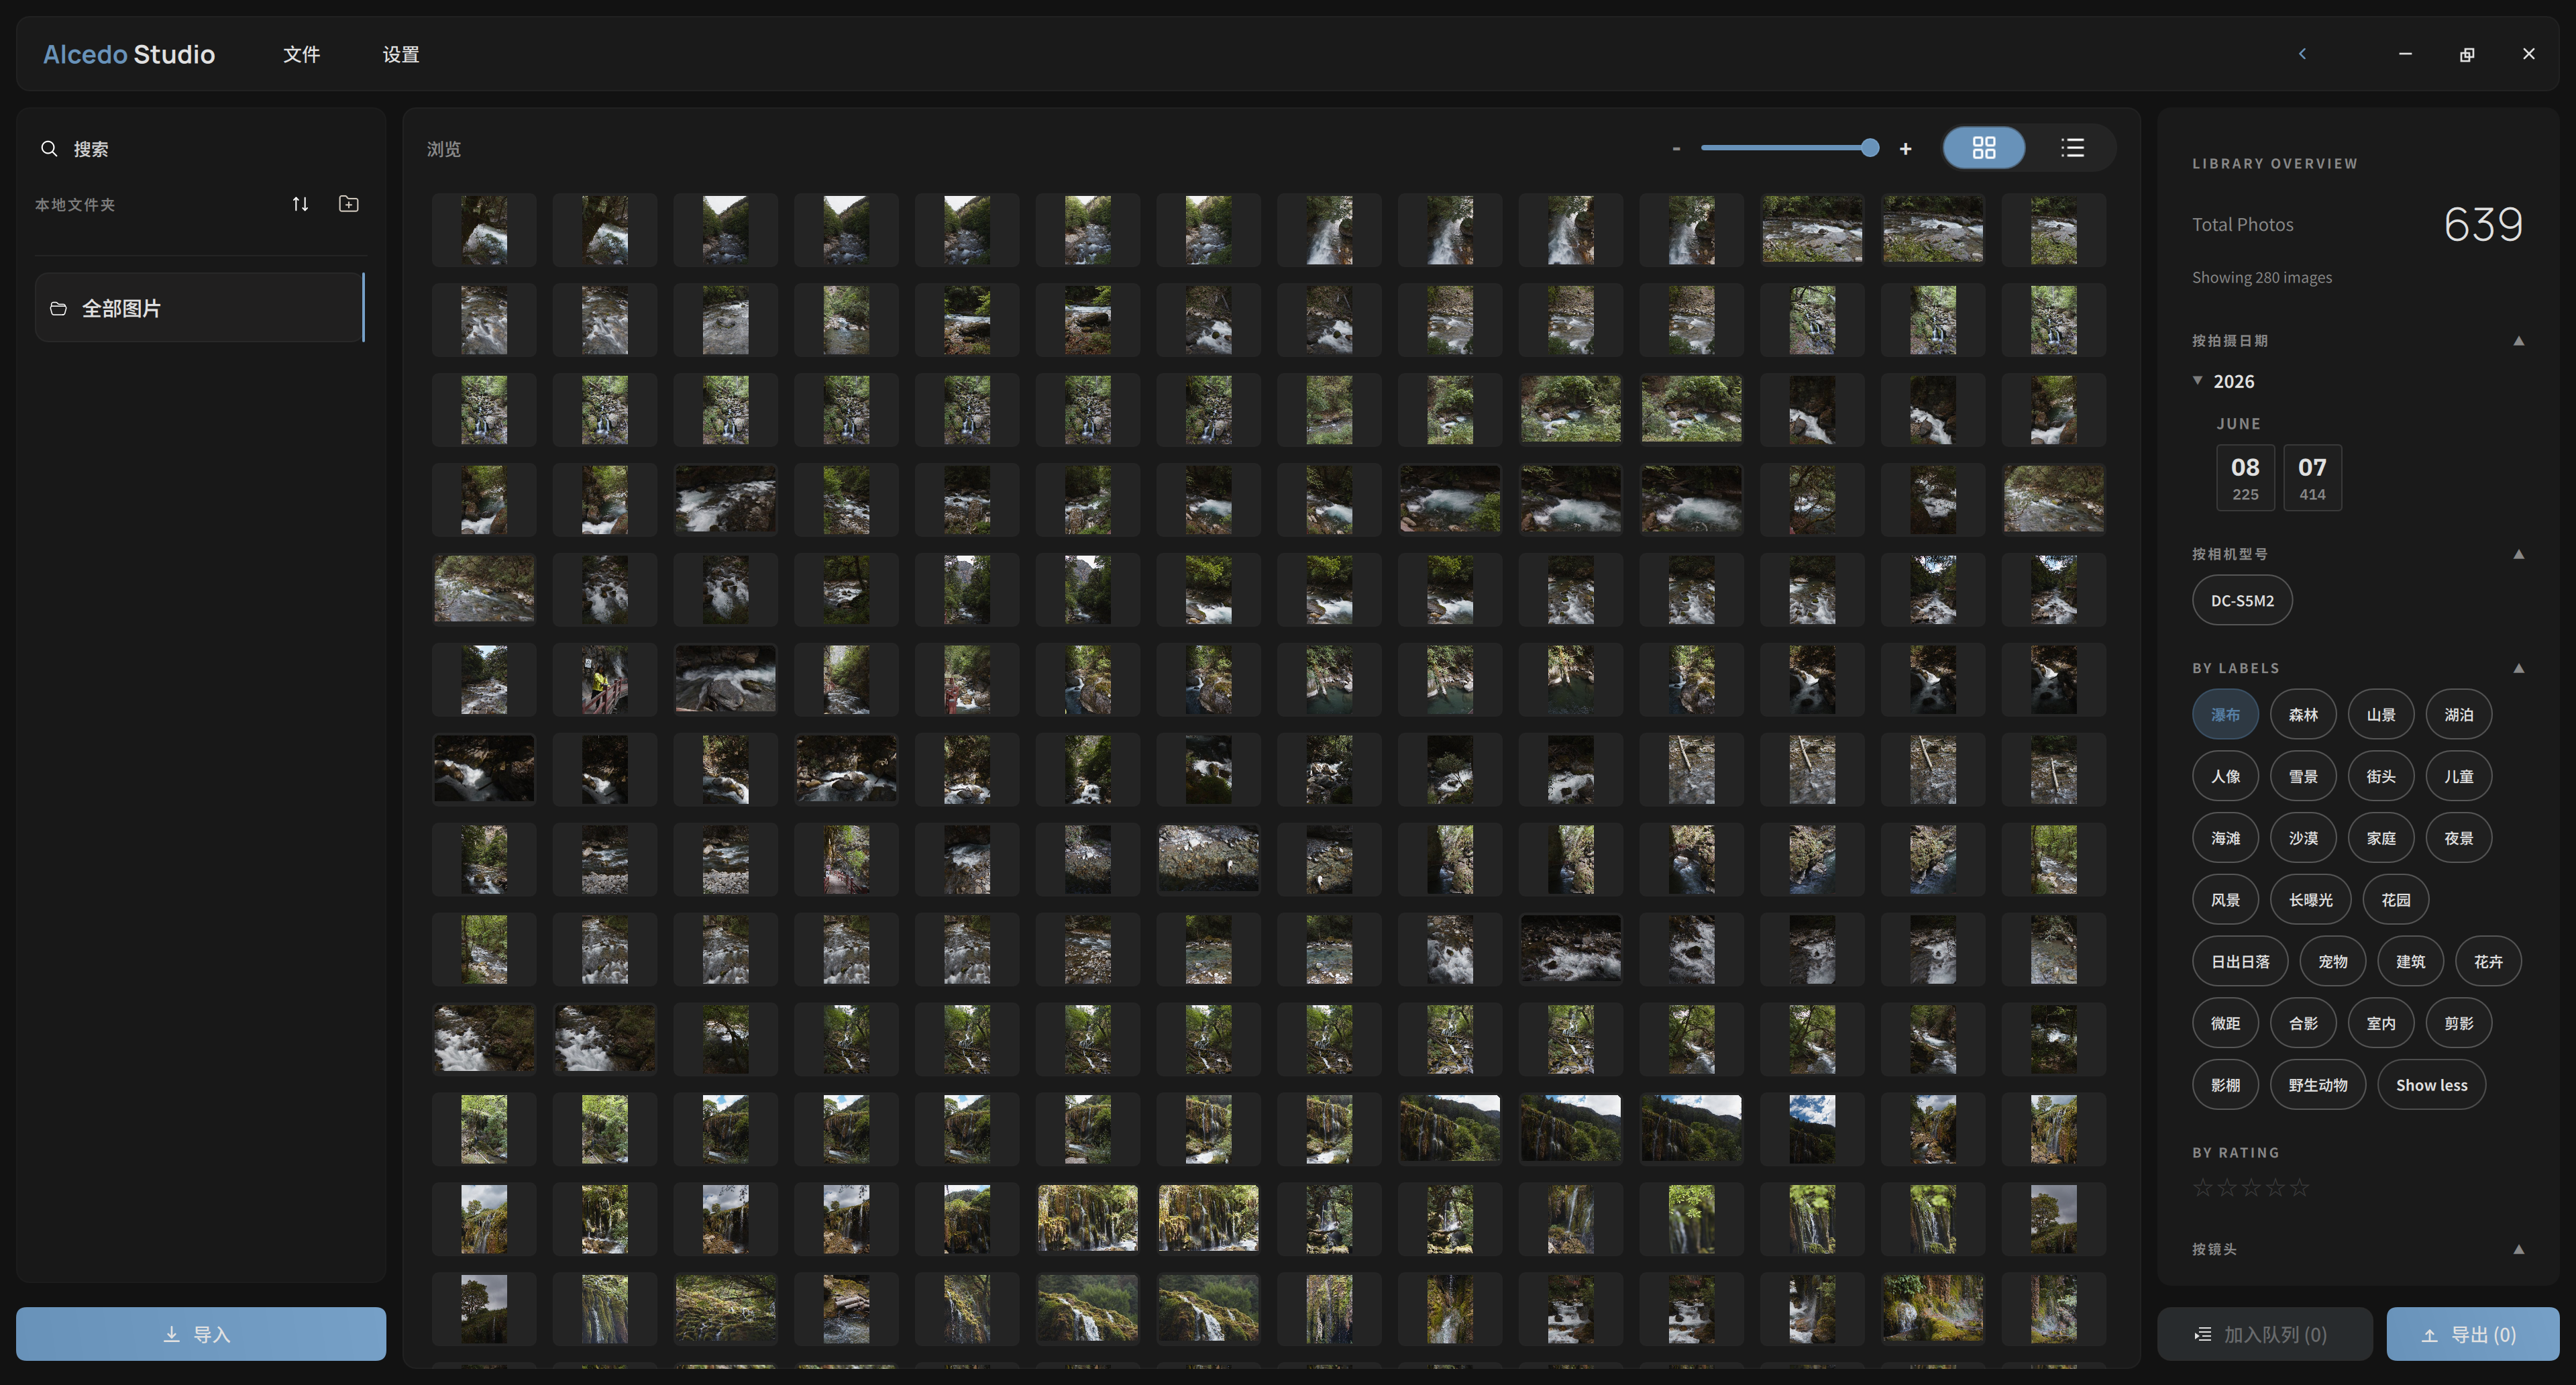
You can also click a parameter in the statistics panel on the right (such as capture date) to see all images from that date, or click a camera model to see all images from that model. Keep clicking more parameters to filter across multiple dimensions until you find the image you want to edit.
Basic adjustments
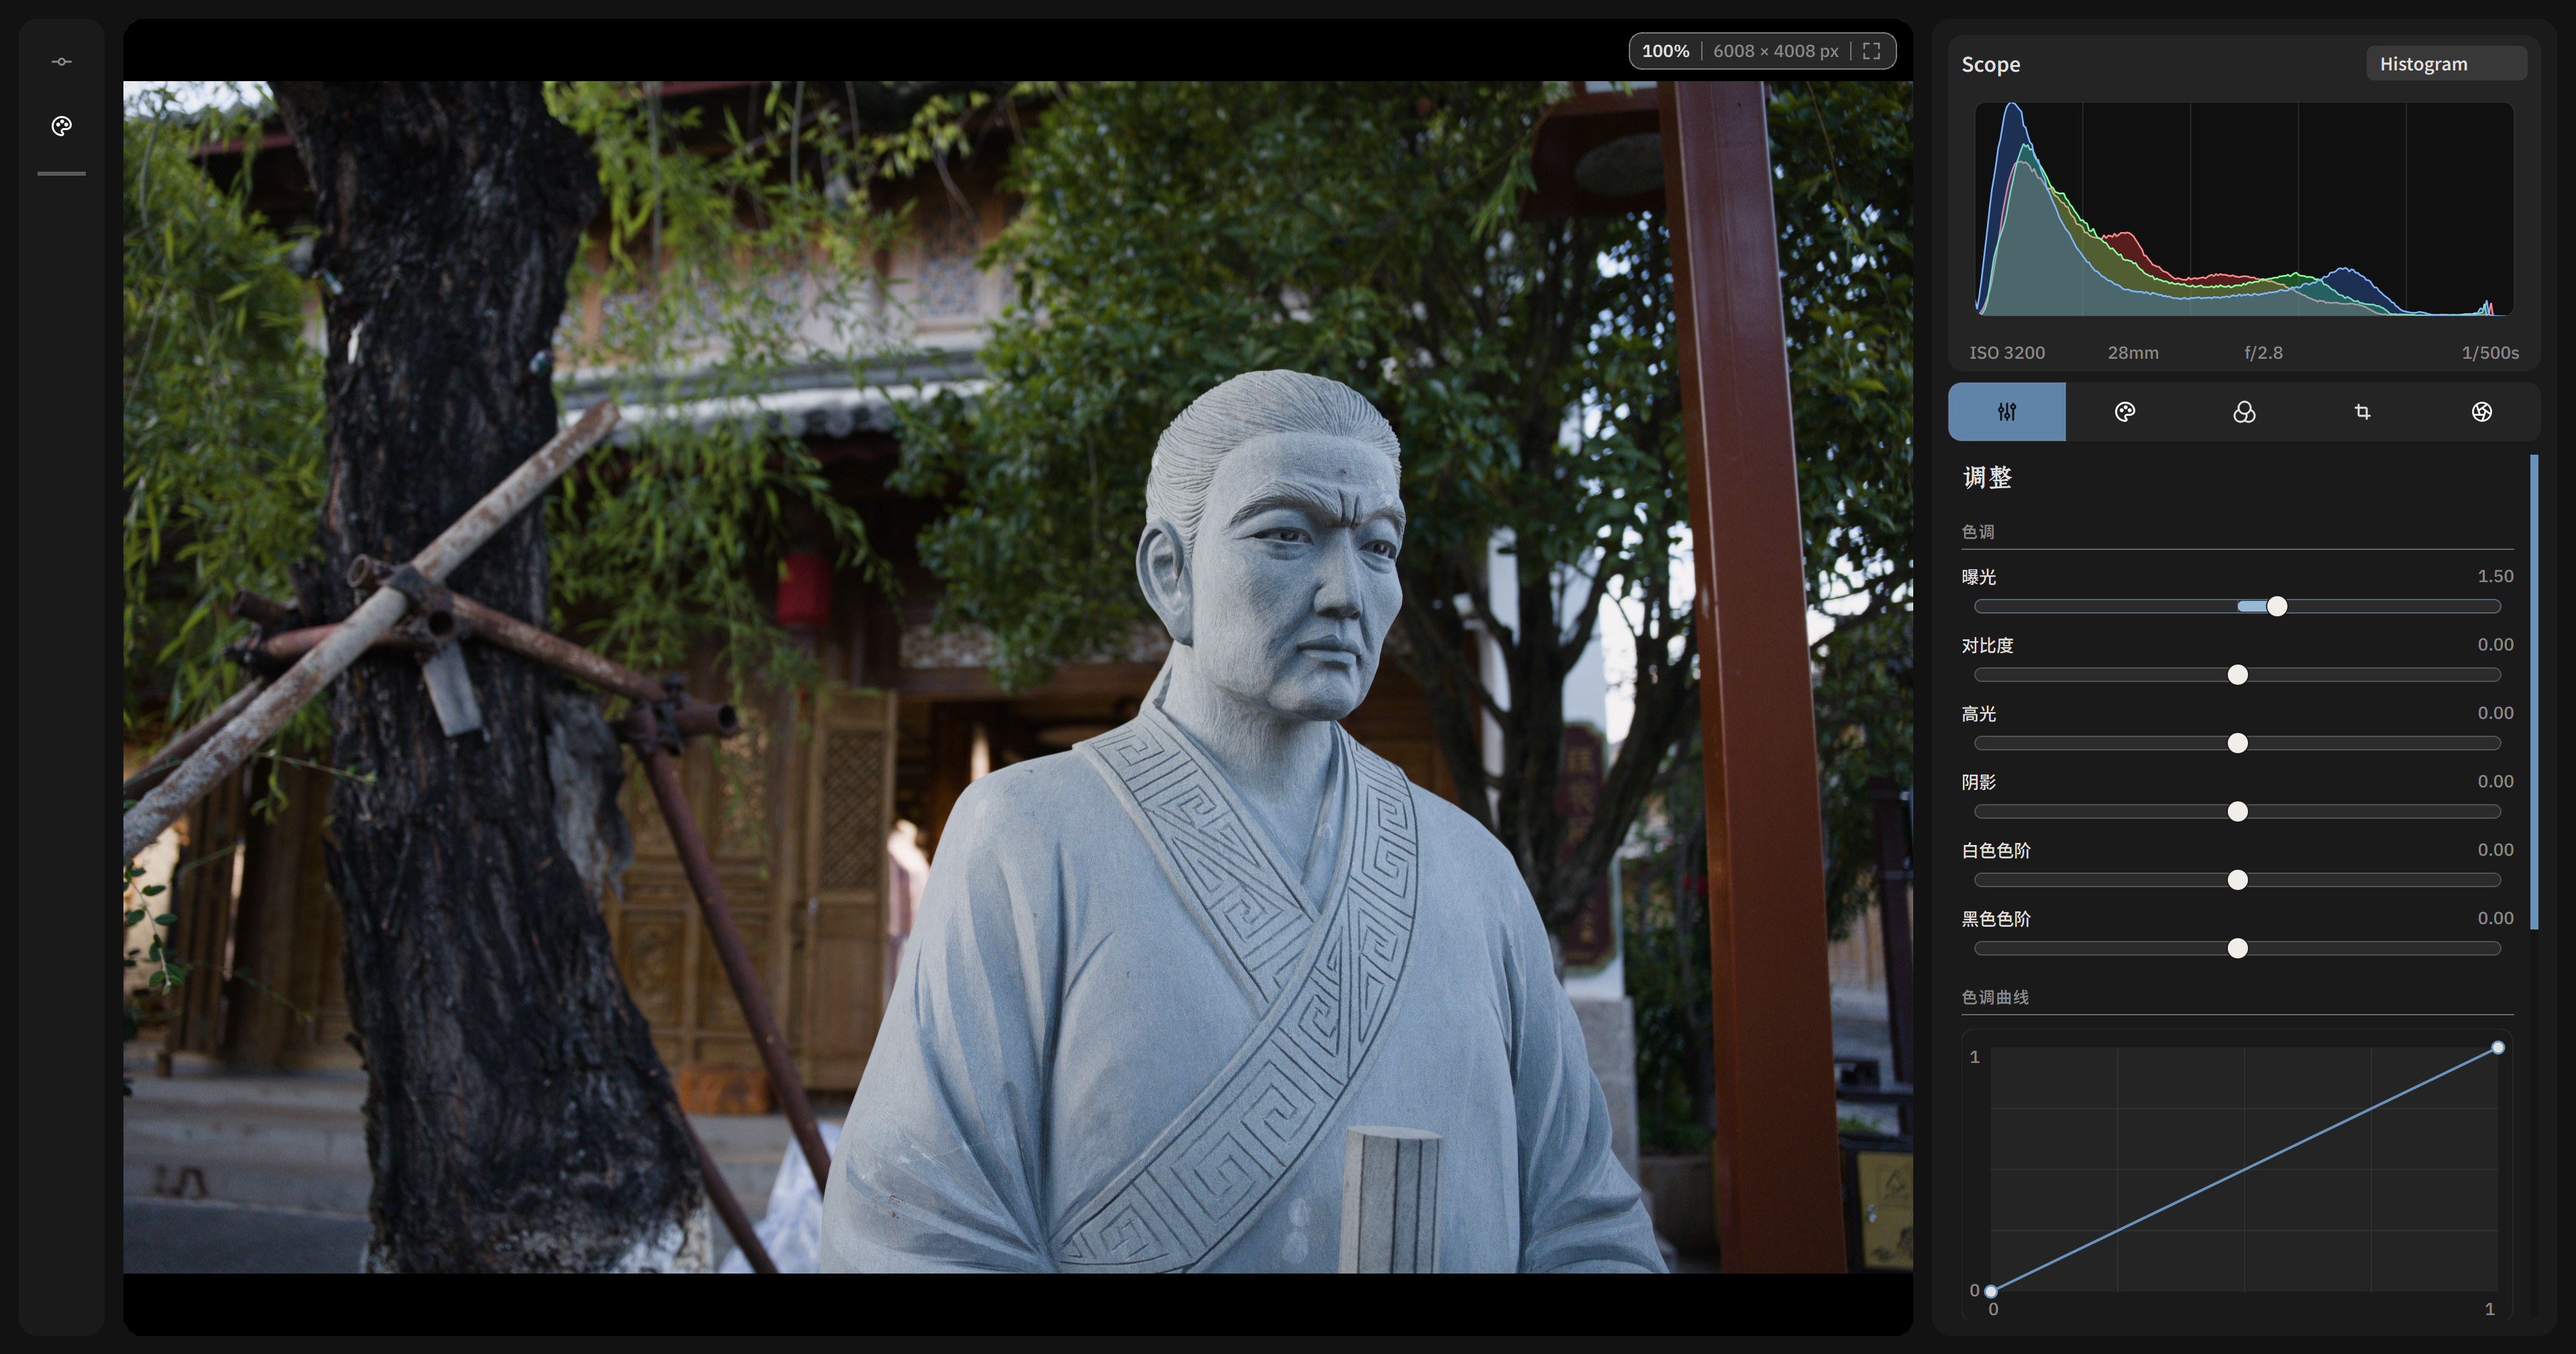
Double-click an image to enter the edit page: edit history on the left, the parameter adjustment panel on the right, and the image preview in the center. In the right panel you can adjust exposure, contrast, white balance, and more. The preview updates in real time to reflect each adjustment.
Zooming the preview
Double-click the image to zoom in; hold Ctrl/Command and scroll the mouse wheel to zoom the preview. The current zoom level is shown in the top-left corner, up to 800%. Touchpad gestures are supported too.
Edit options
Overall operation is close to other mainstream RAW editors, so we recommend trying it directly; below we only cover this app's distinctive features.
Double-click a slider to reset its parameter.
LUT adjustments
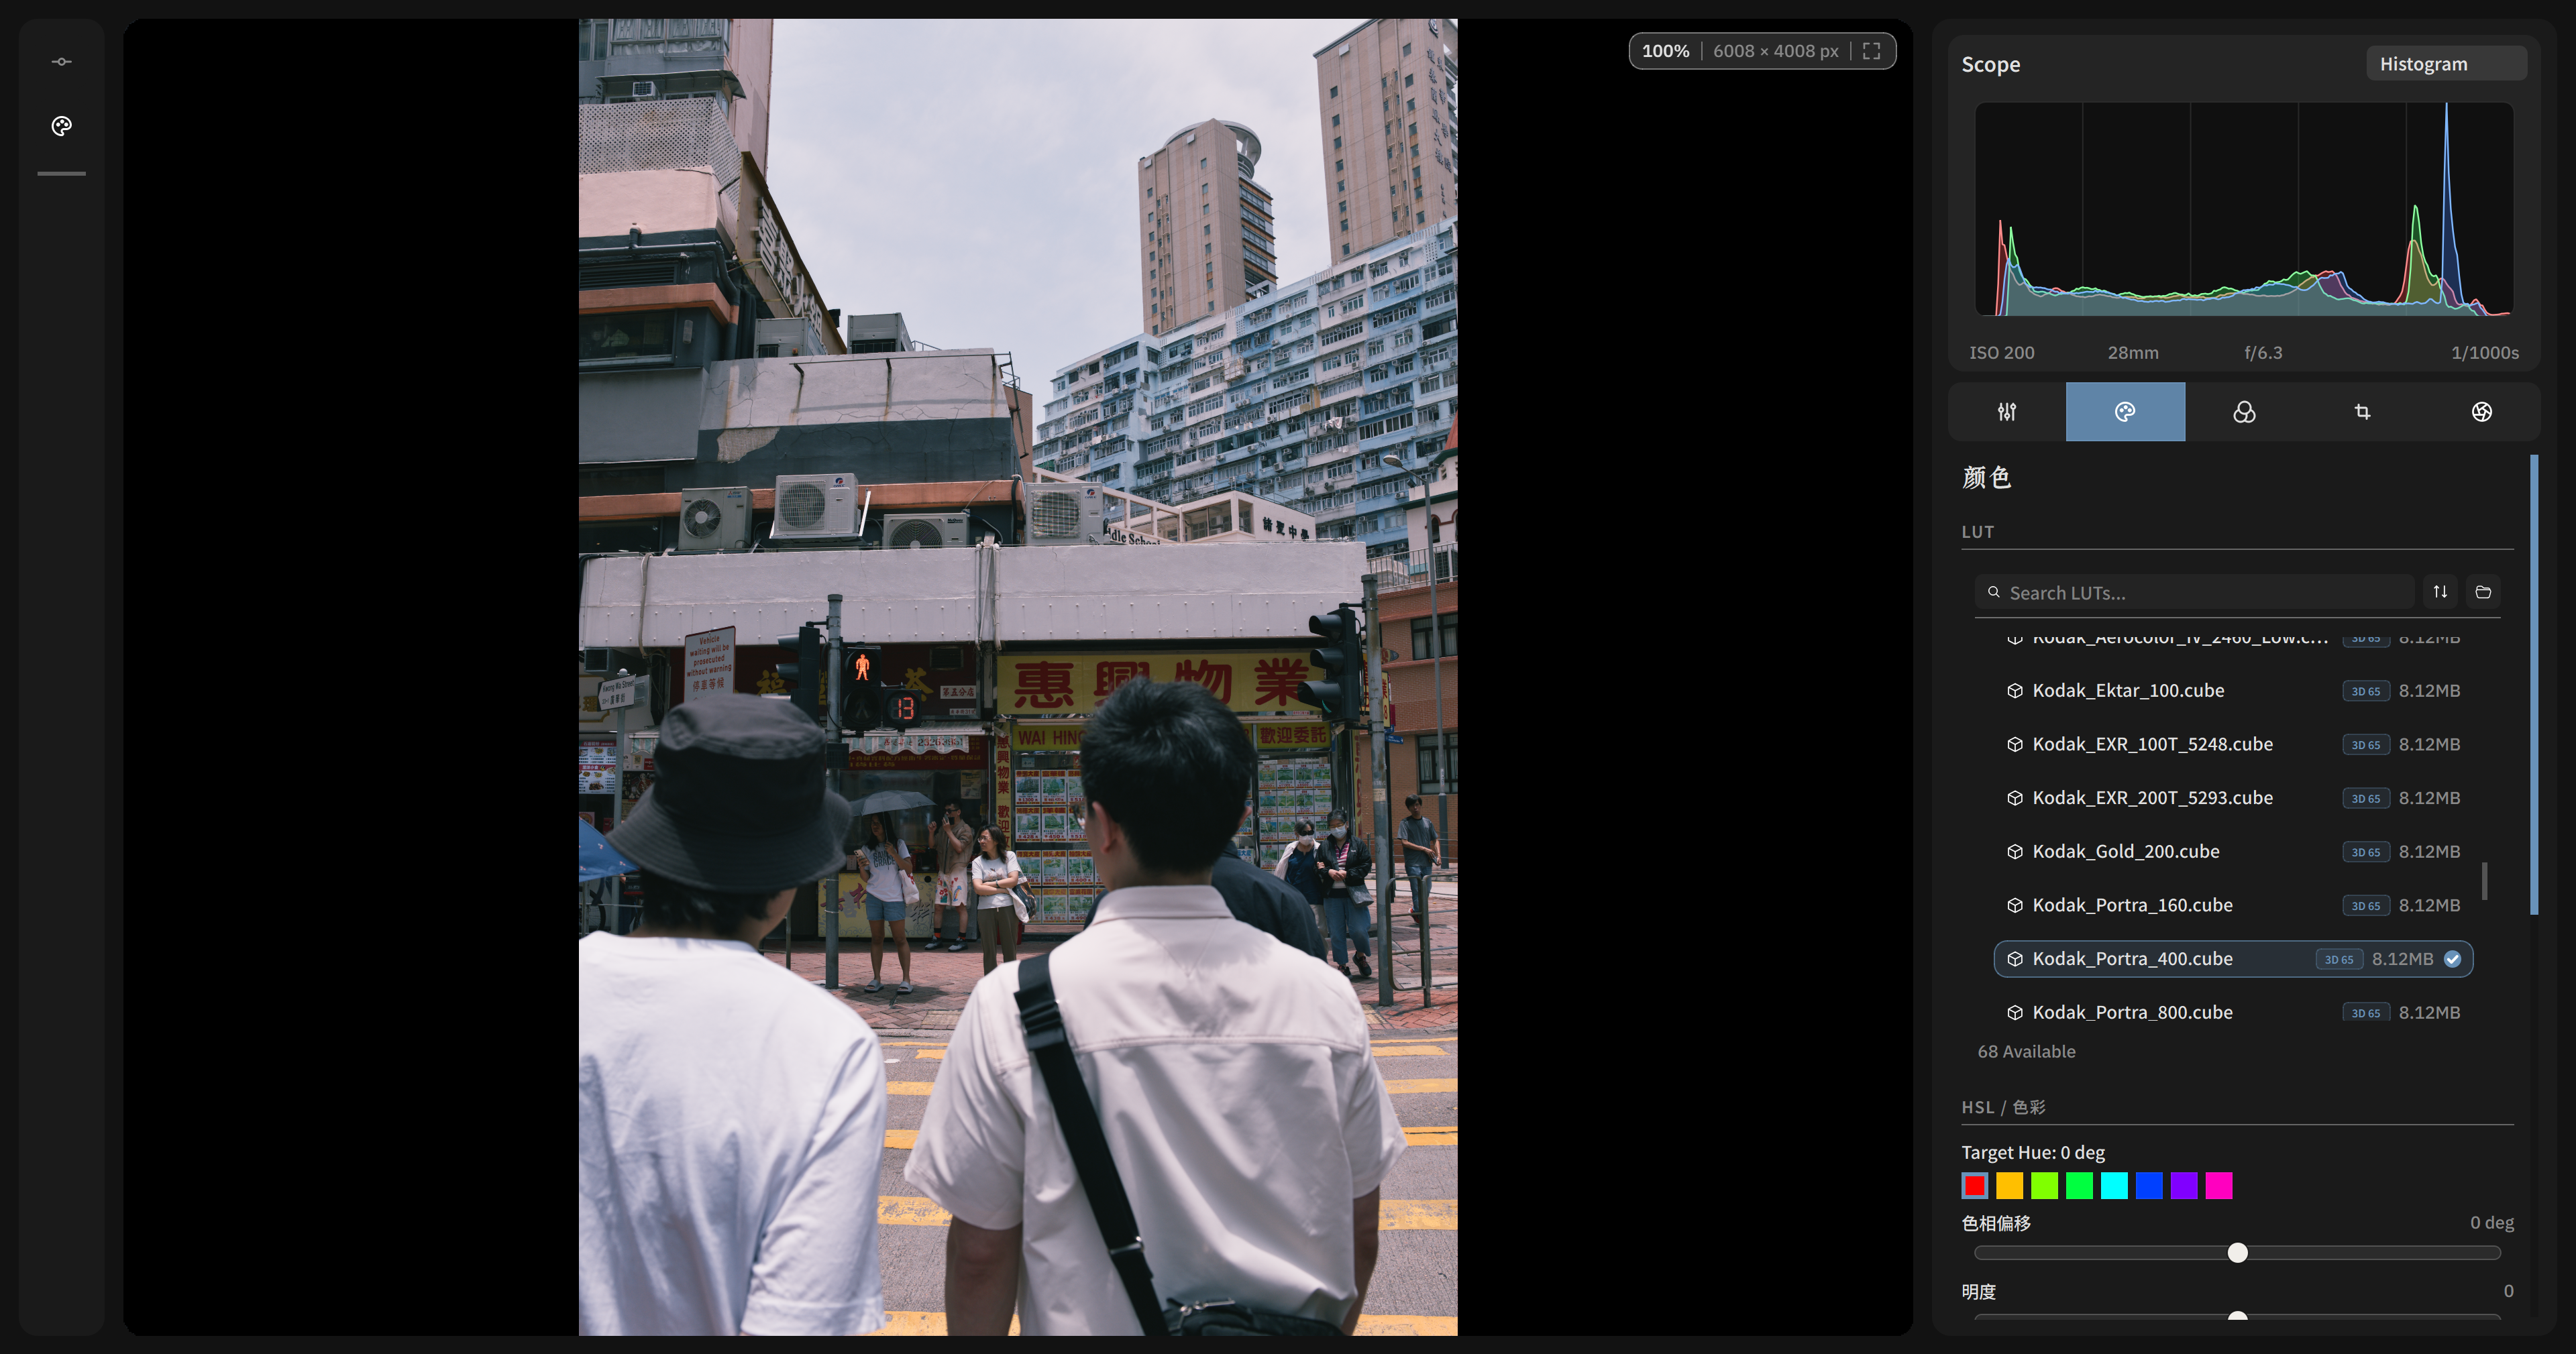
The first item in the "Tone" panel is the LUT adjustment, letting you load an ACEScc->ACEScc .cube file for tone adjustments. You can place your own or converted LUT files in the bin/LUTs directory; reopening the editor makes them selectable from the dropdown.
Display transform
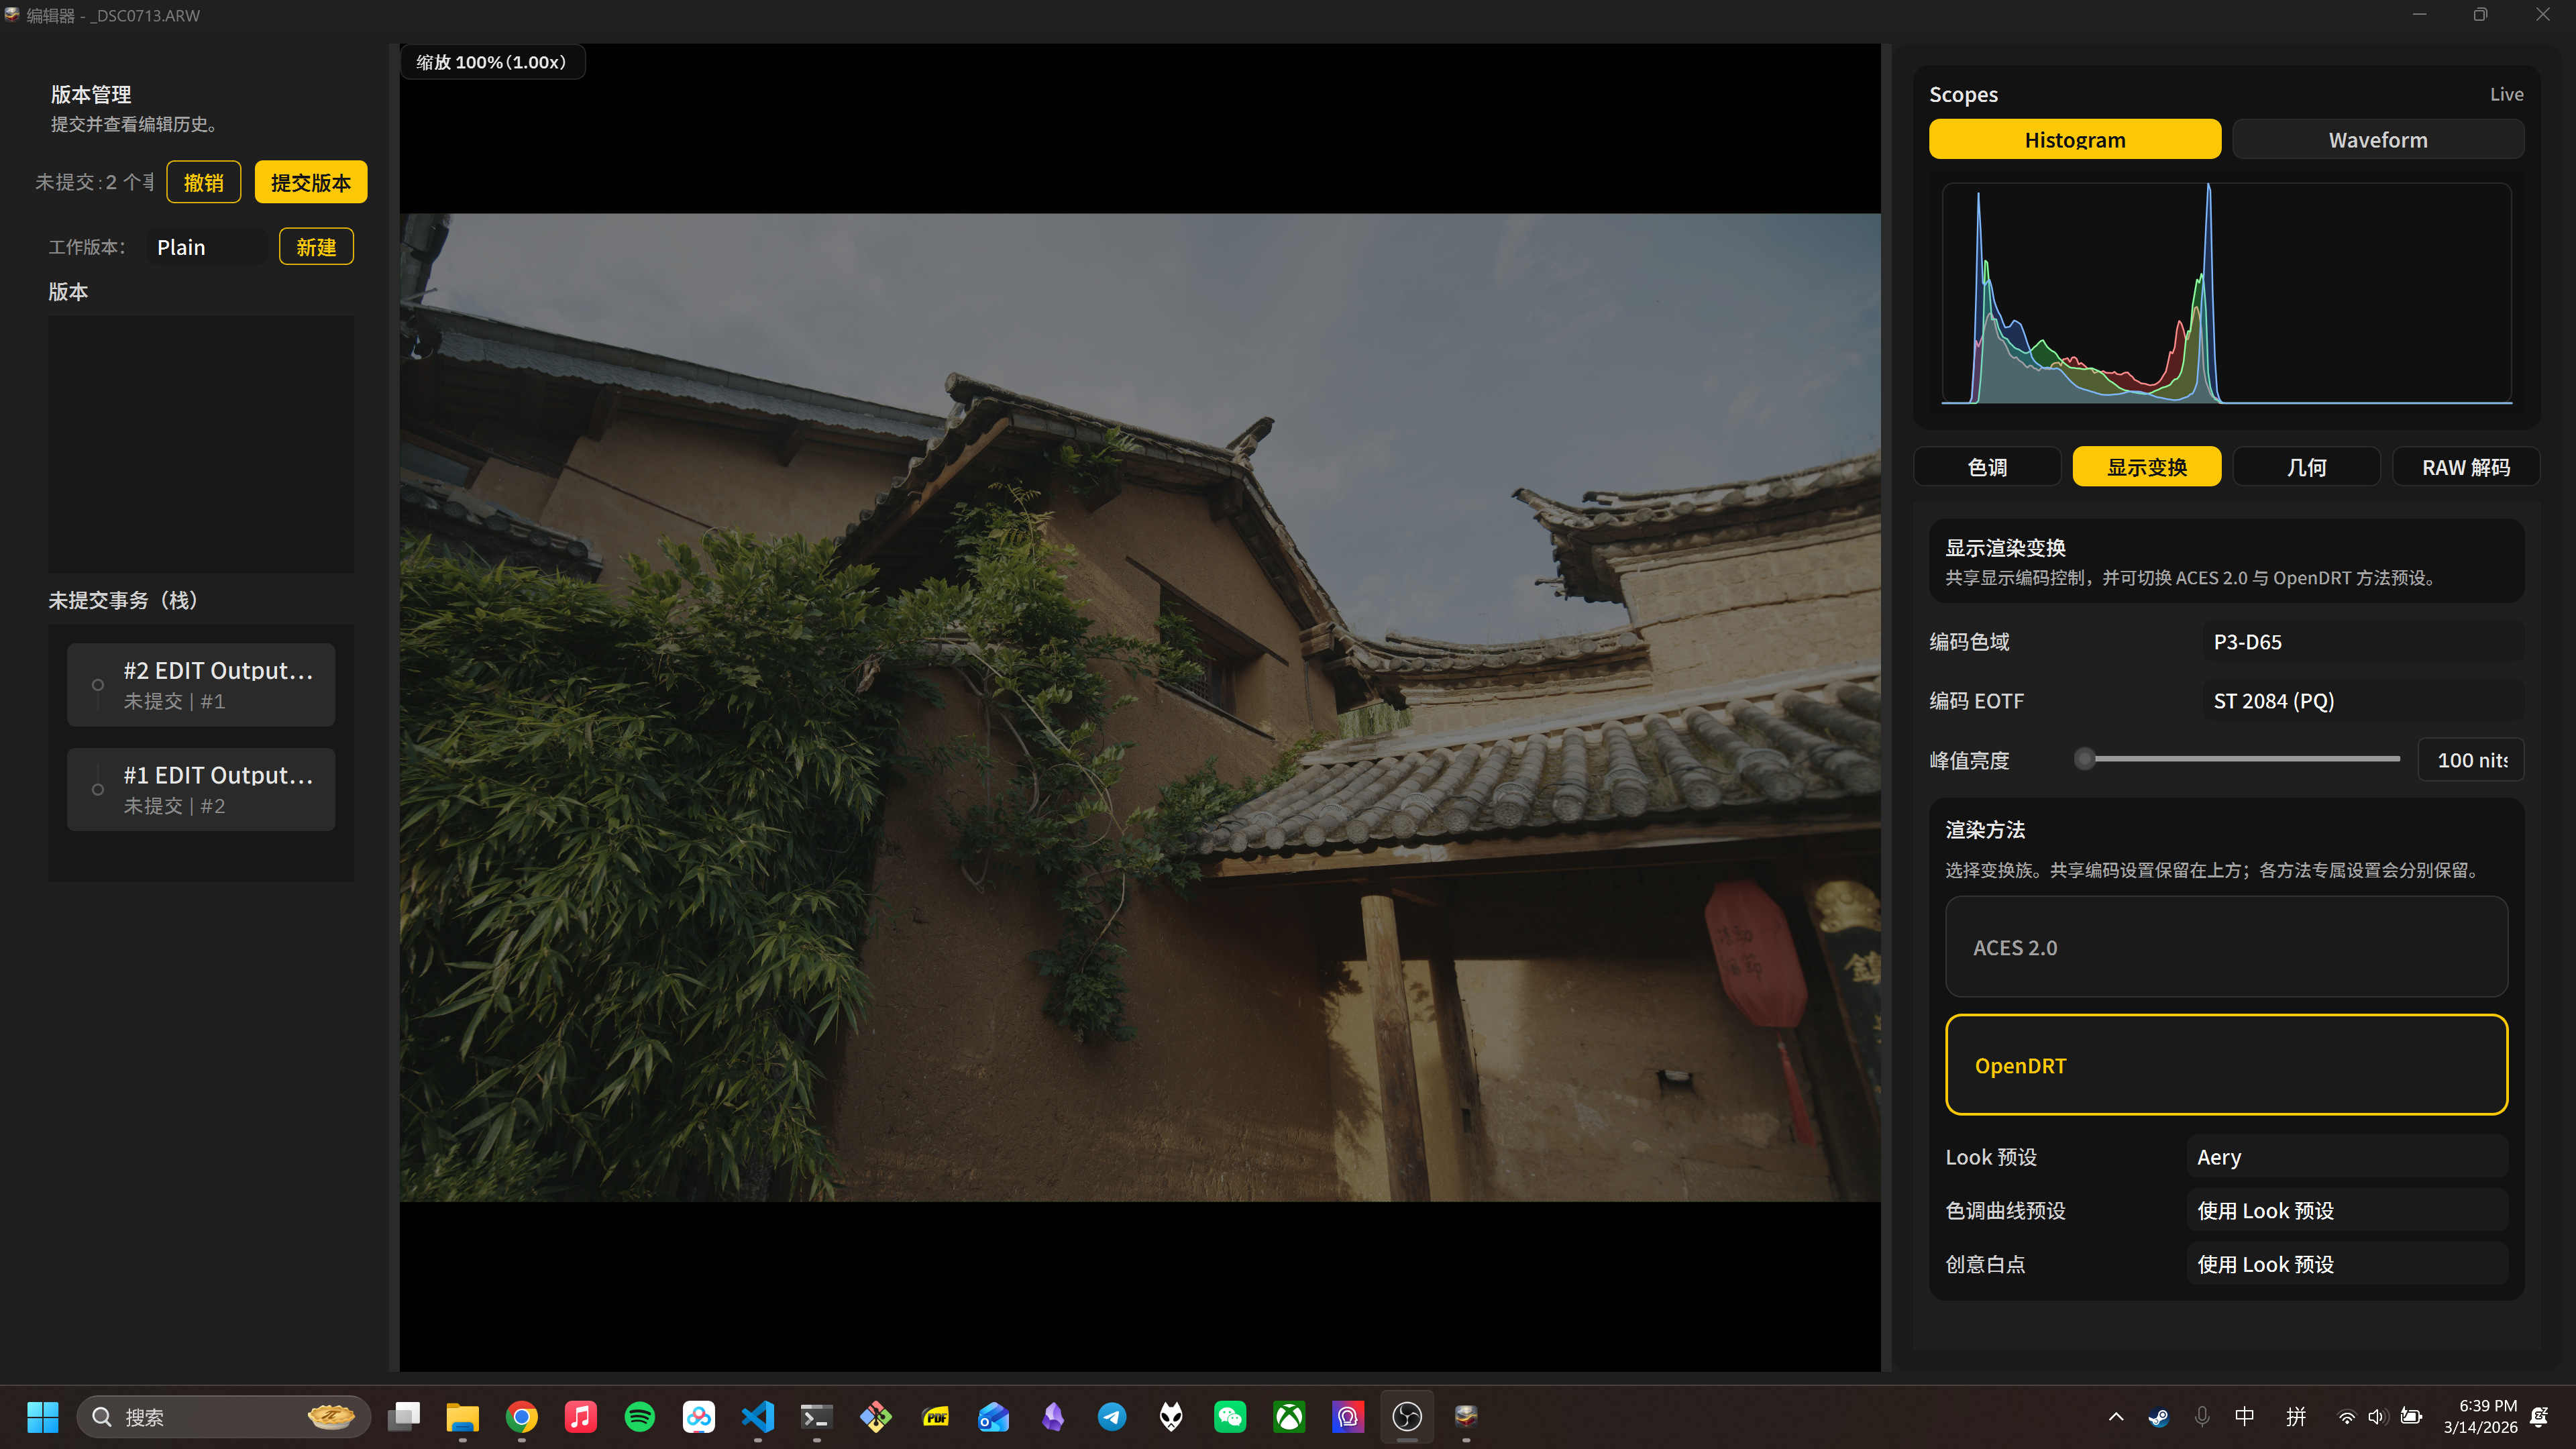
In the "Display Transform" panel you can choose different display transform algorithms to adjust how the image is shown. Two algorithms are currently available: ACES 2.0 and OpenDRT; pick whichever suits your needs.
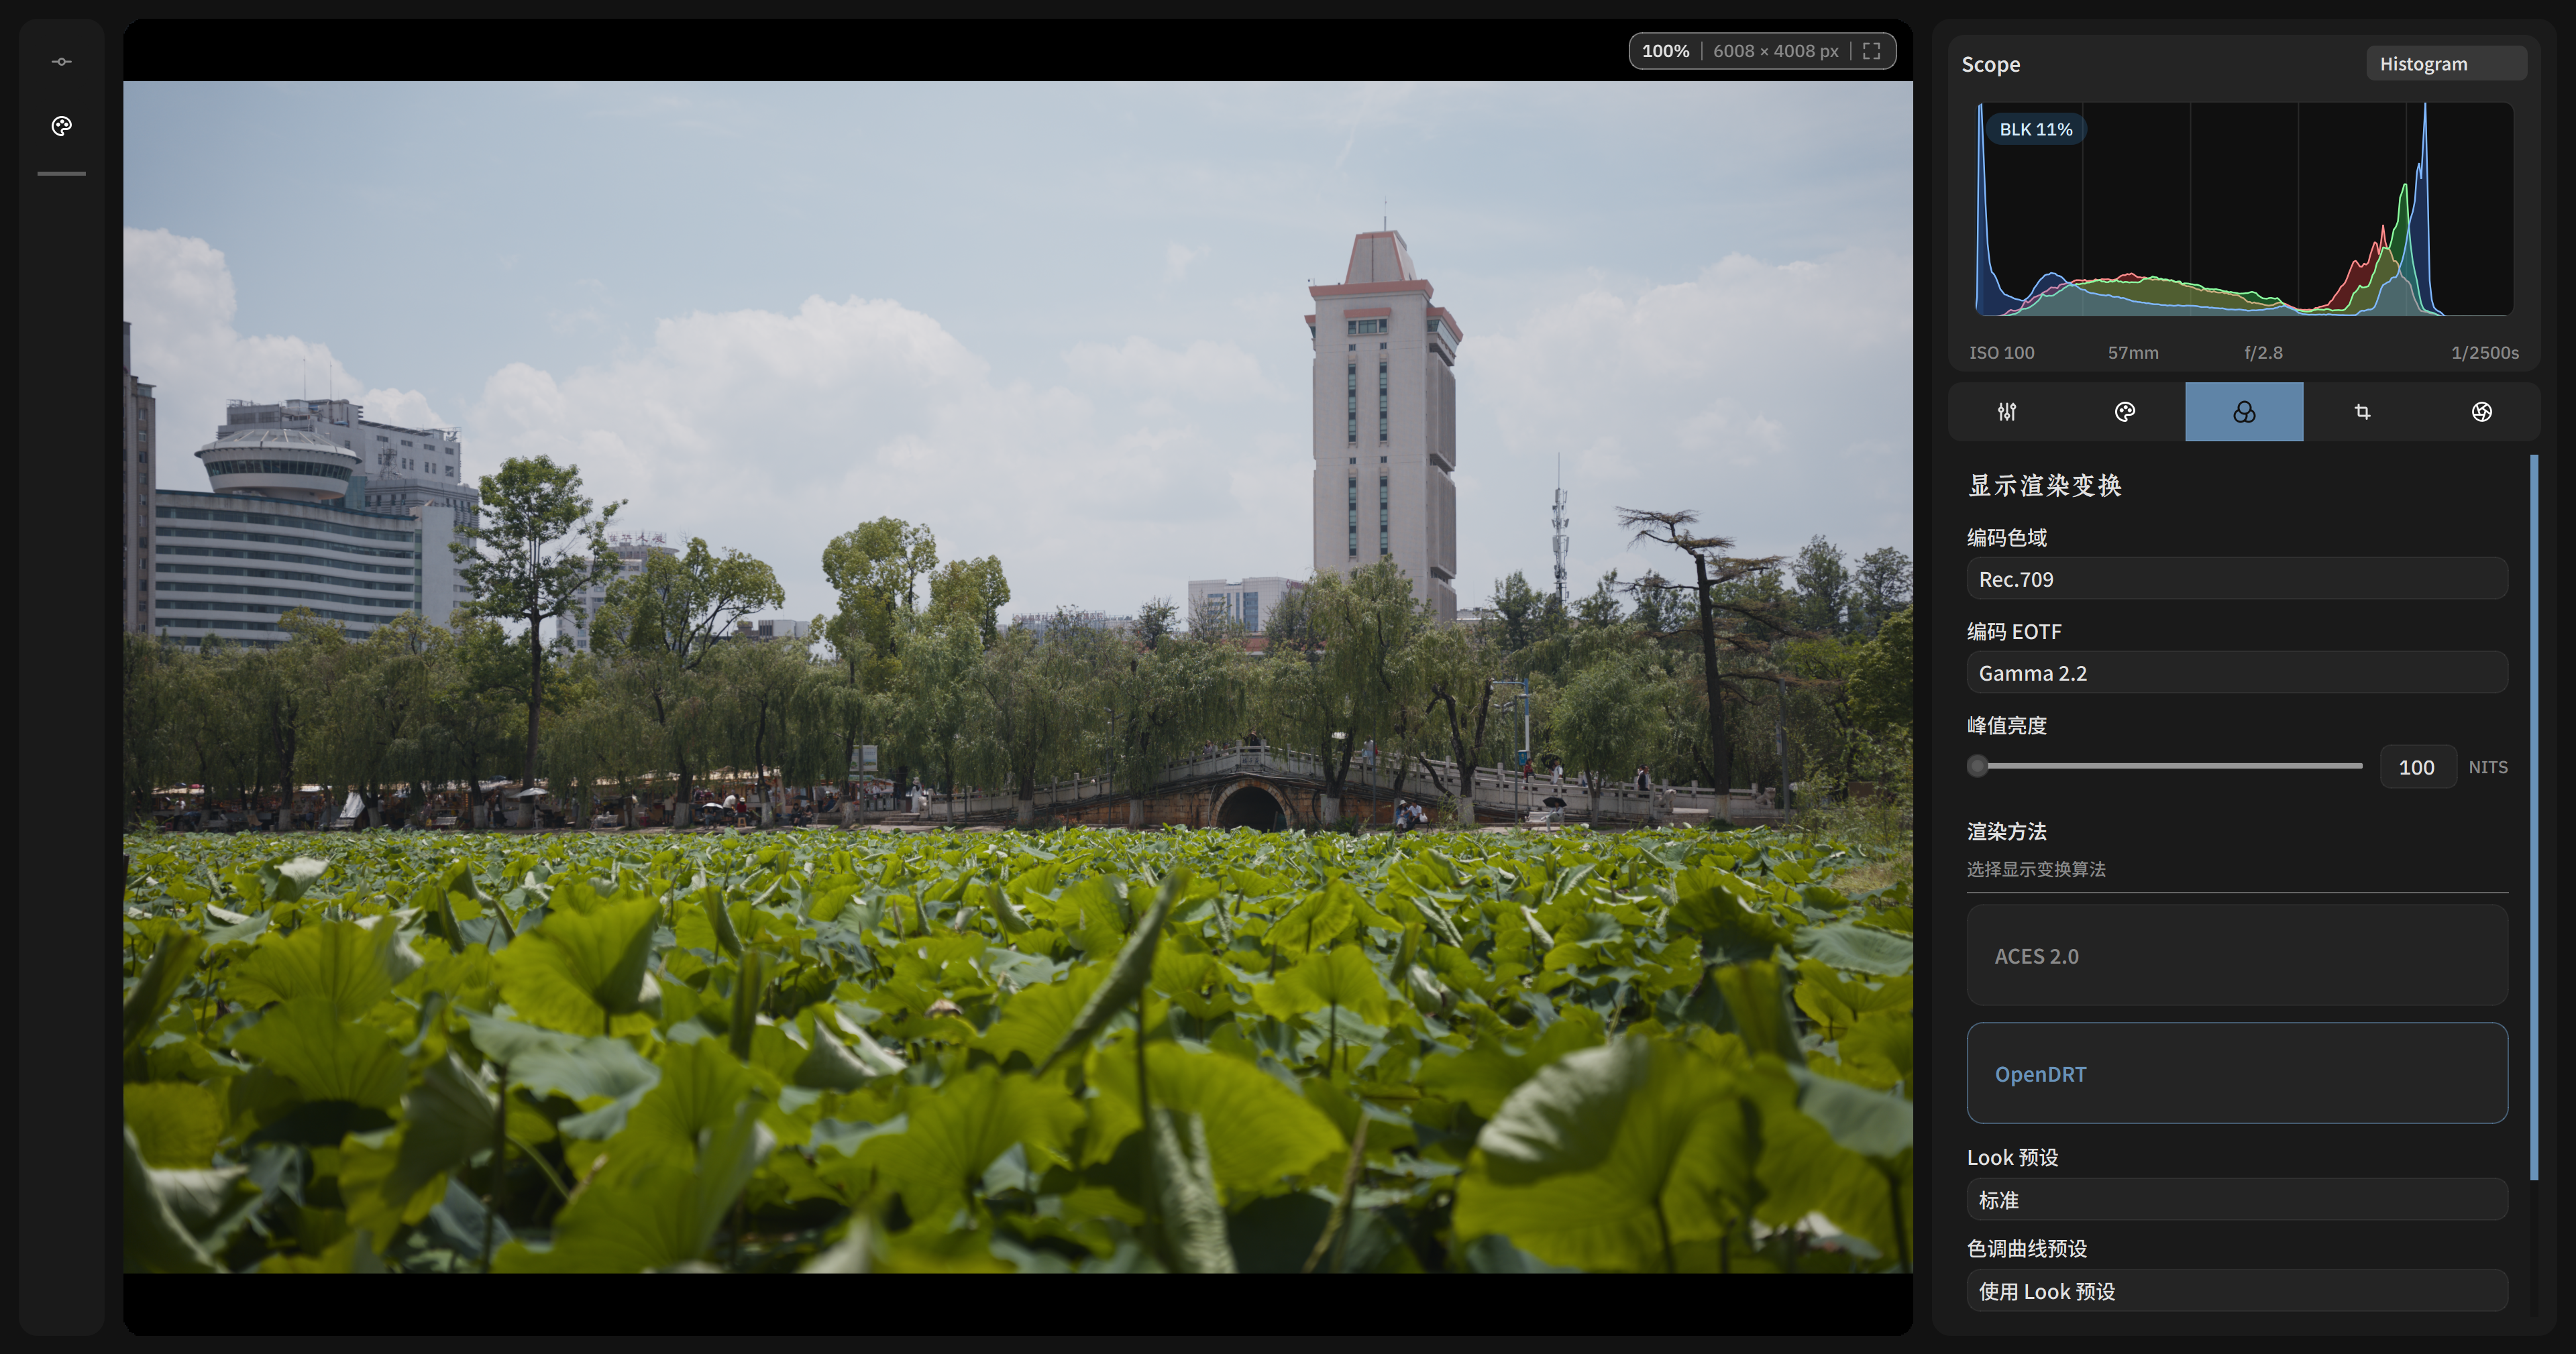
With OpenDRT you can also adjust its preset parameters for different looks, with the preview updating in real time. You can go beyond the presets by tweaking OpenDRT's internal parameters.
RAW decode settings
In the "RAW Decode" panel you can enable highlight recovery and lens correction. With highlight recovery enabled, the app tries to recover detail from blown-out areas of the RAW data; with lens correction enabled, it corrects distortion based on the lens characteristics.
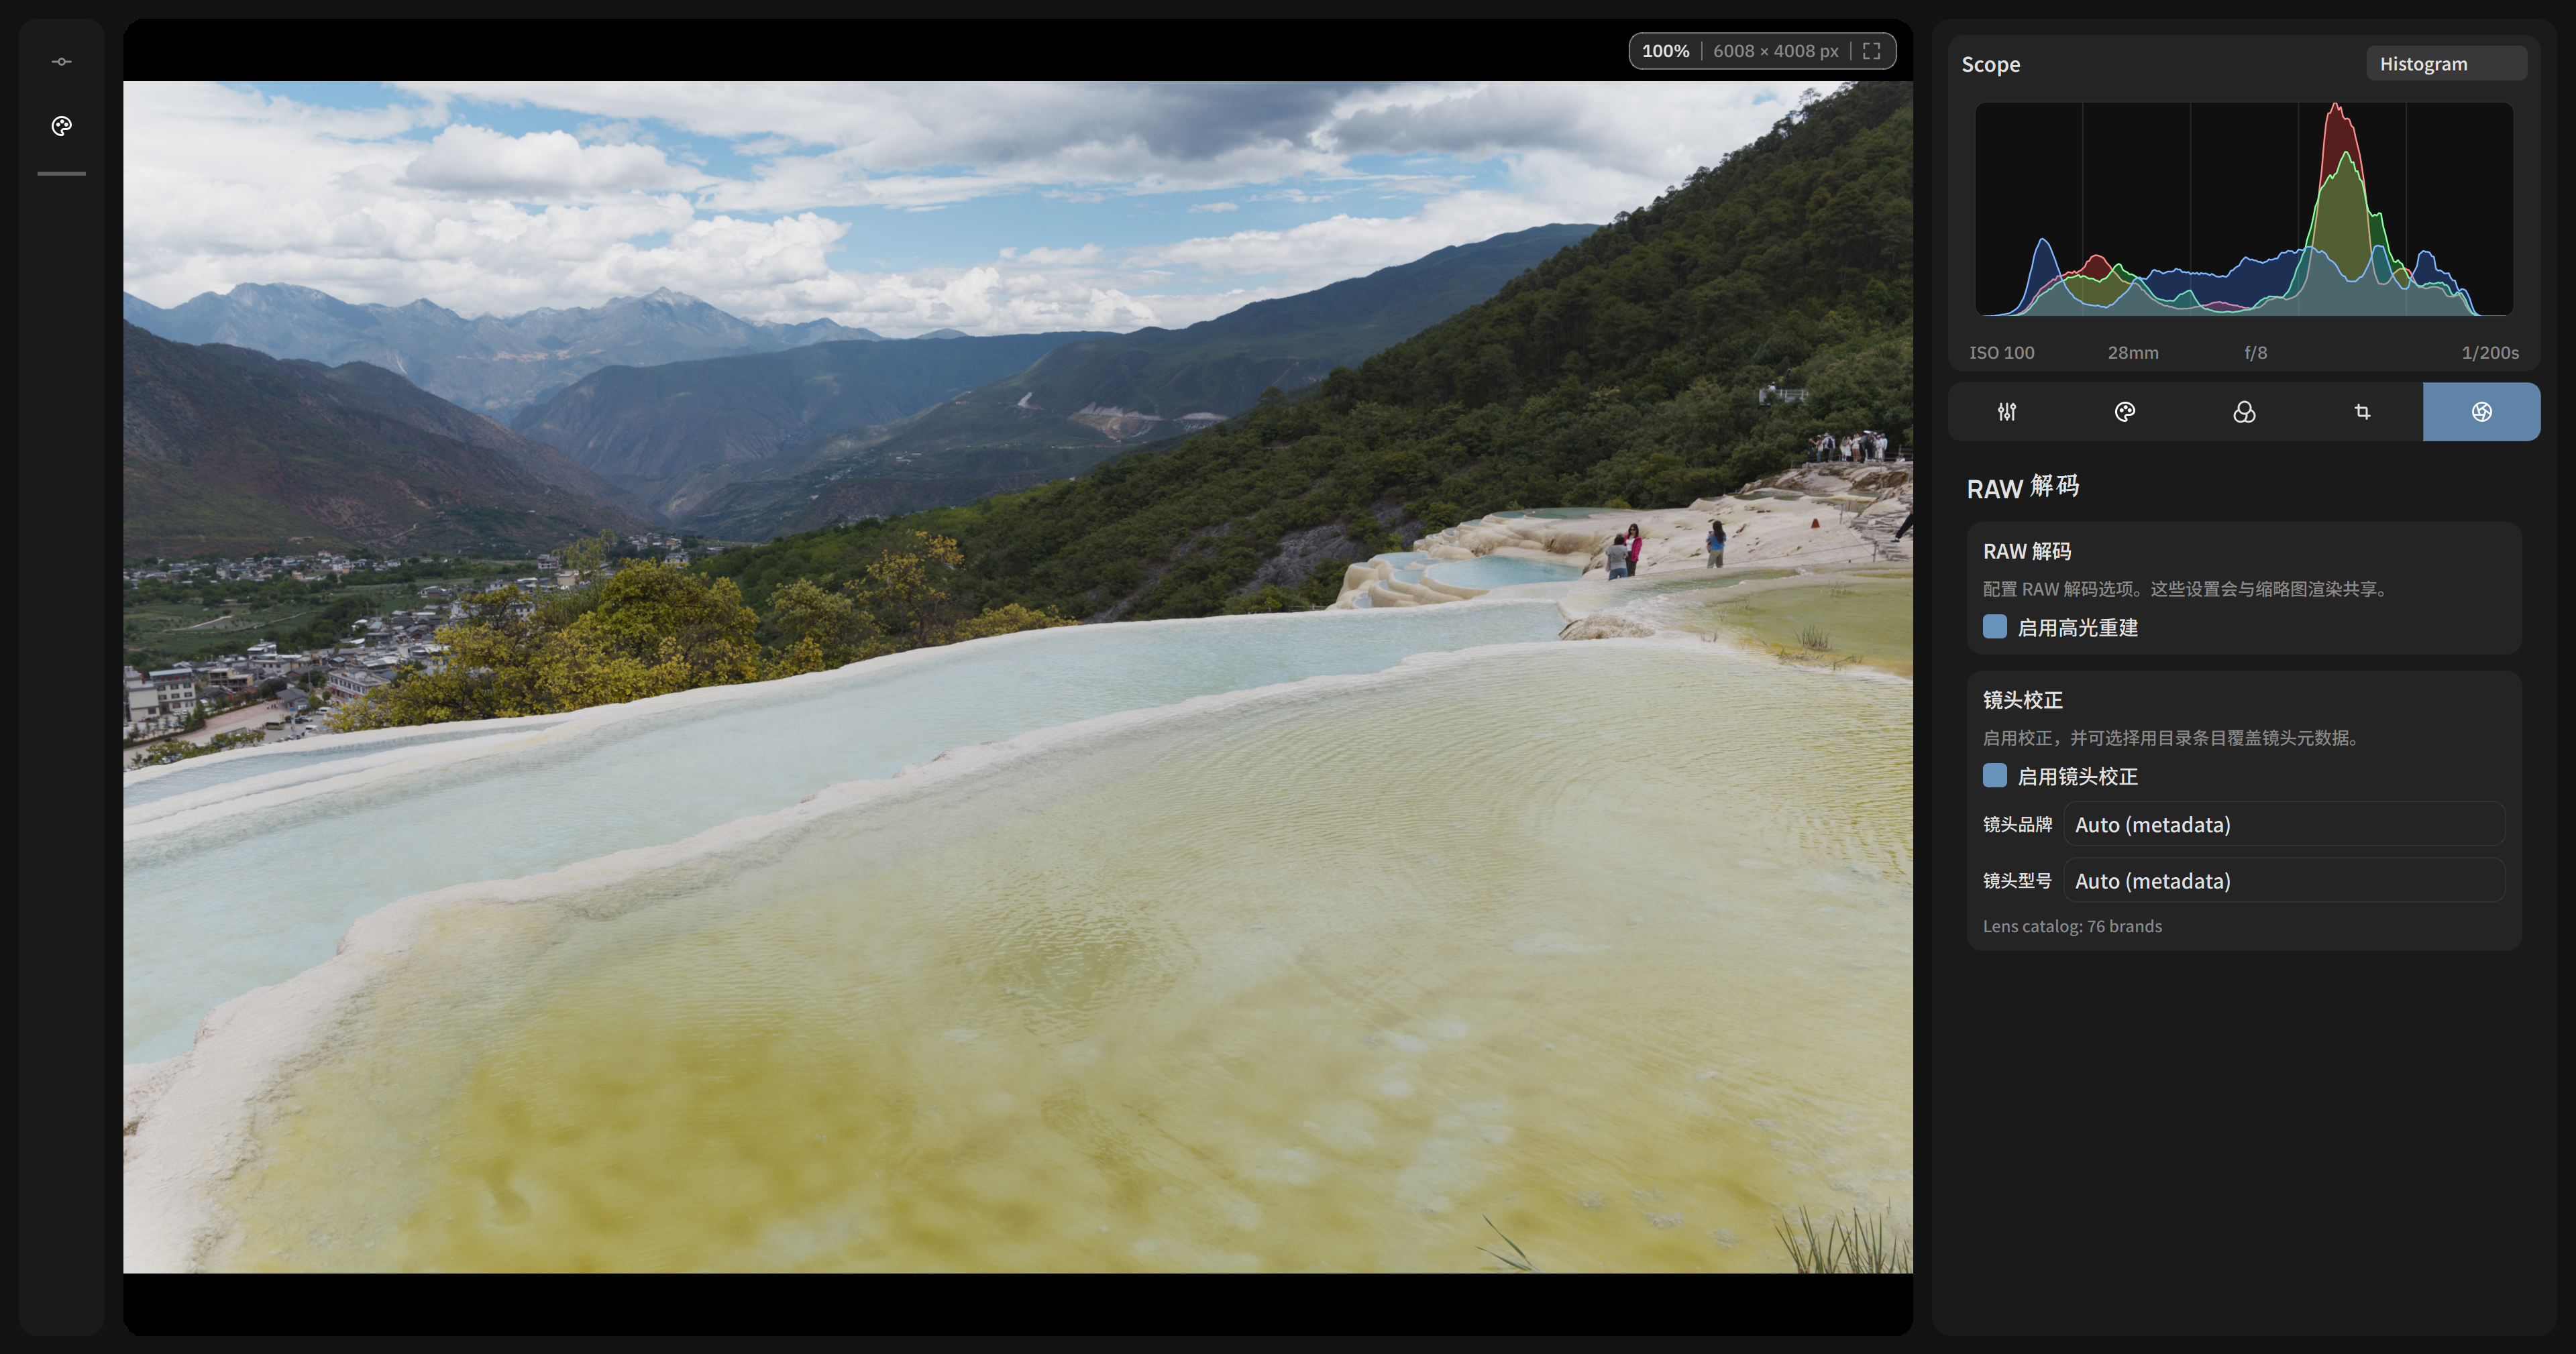
Note: highlight reconstruction may introduce artifacts and hue shifts. We recommend enabling it only when you need to recover blown-out detail, and carefully checking the recovered result.
Lens correction auto-detects the lens model from metadata (Auto mode); if you are not happy with the result, you can also choose the lens model manually or turn correction off.
HDR settings
In the "Display Transform" panel you can enable HDR editing mode by choosing the encoding color space and EOTF from the HDR specs (e.g. P3D65 + ST 2084 PQ). On Windows, HDR is not previewed correctly yet, but it is still exported correctly; we recommend enabling it when you need HDR output, editing with it, and checking the result on HDR-capable devices after export. On macOS, HDR editing mode previews and exports correctly.
Export settings
After editing, close the editor back to the album page — all changes are saved automatically. Select the images to export and click "Add Selected" to add them to the export queue. When the queue contains both HDR and SDR images, HDR images are marked with a gold badge to tell them apart. The two export setting areas configure HDR and SDR export parameters separately, to suit different output needs.
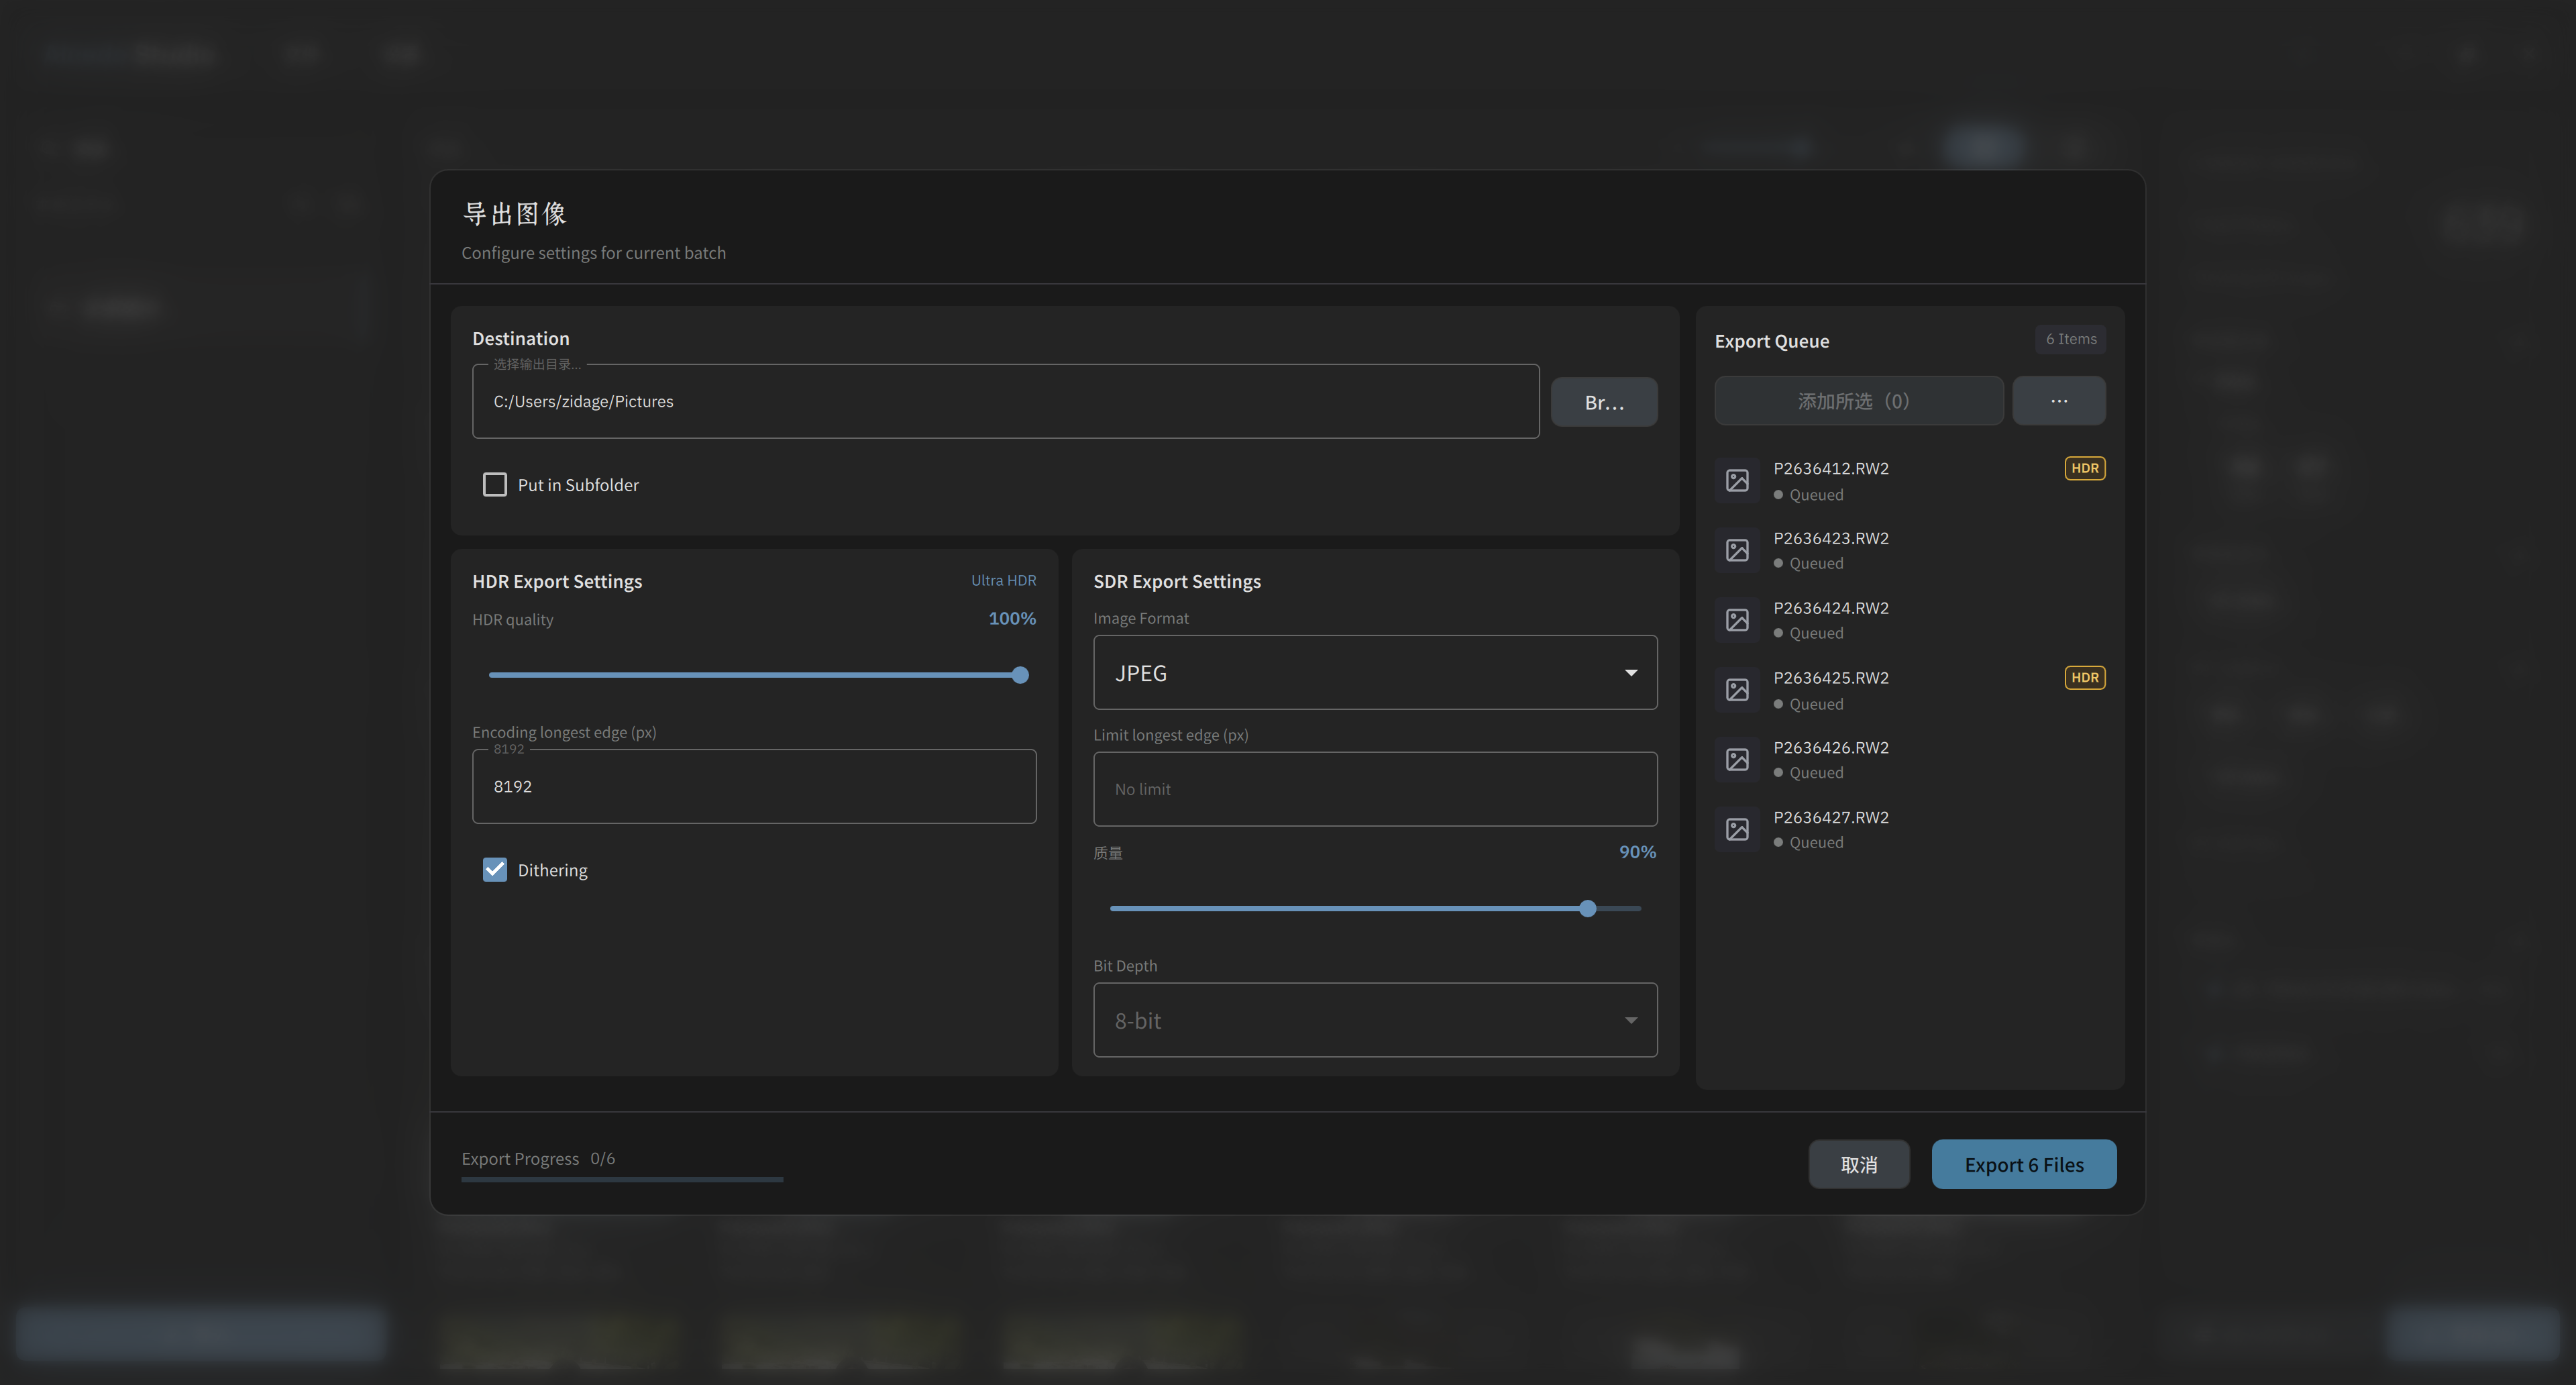
On the right you can choose export parameters such as format and resolution. Click "Start Export" and the software exports the edited images with the current settings. The queue is not cleared after export; you can keep adding images to export, or clear the queue manually.
Note:
- Use the highest-quality export for Ultra HDR format to ensure the best result.